Dropped your phone and now you’re staring at a cracked Samsung S23 Ultra screen? We know that sinking feeling—it’s never fun when your expensive device takes a hard hit. Once you see those cracks spreading, a screen replacement becomes pretty much unavoidable.
This guide walks you through everything you need to know about Samsung S23 Ultra screen replacement costs and options. We’ll cover the difference between original and aftermarket parts, how long repairs take, and what quality you can expect. At Cell Hub Fix, we specialize in fixing flagship Samsung phones, and we’re here to help you get your device back in perfect shape, fast.
How to Replace Your Samsung S23 Ultra Screen
Putting a new screen on your phone takes a bit of planning and the right tools. First thing’s first: always disconnect the battery before you touch anything inside. Applying some heat helps soften the adhesive, making everything come apart much easier. If you follow the steps carefully, you’ll avoid damaging the cameras or other sensitive parts. Work in a clean space to keep dust out, and snap a few pictures as you go to remember how everything fits back together. Good technique means your phone will actually work when you’re done.
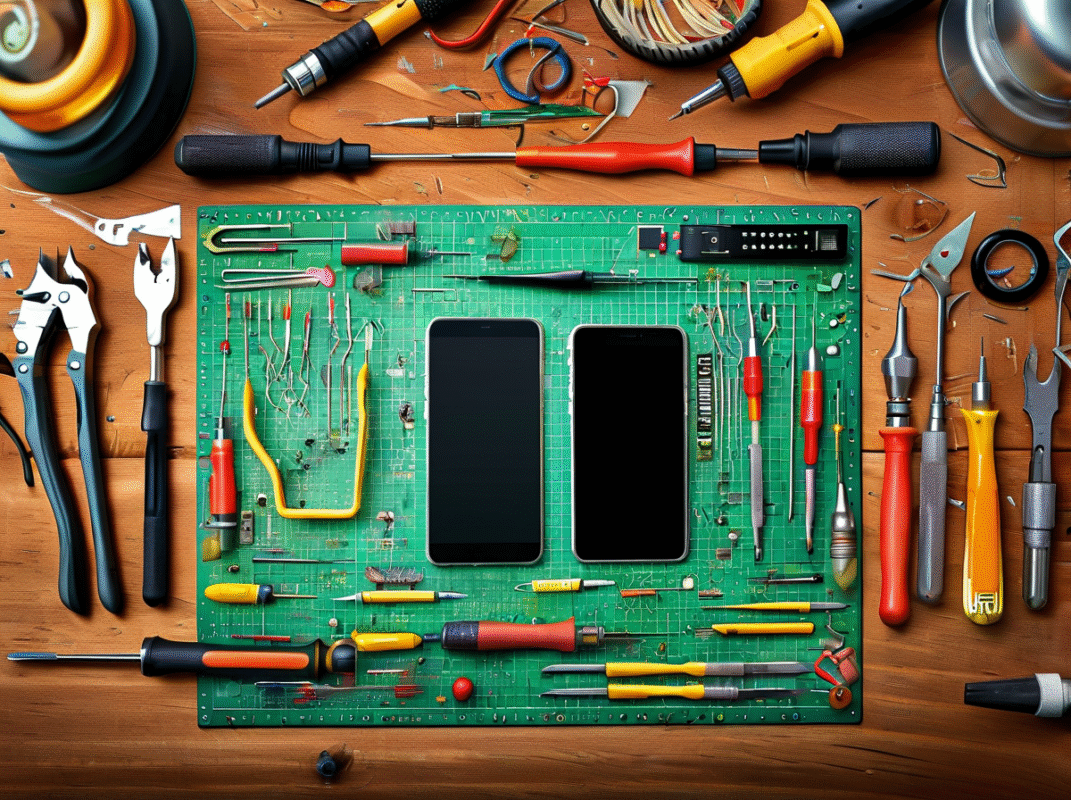
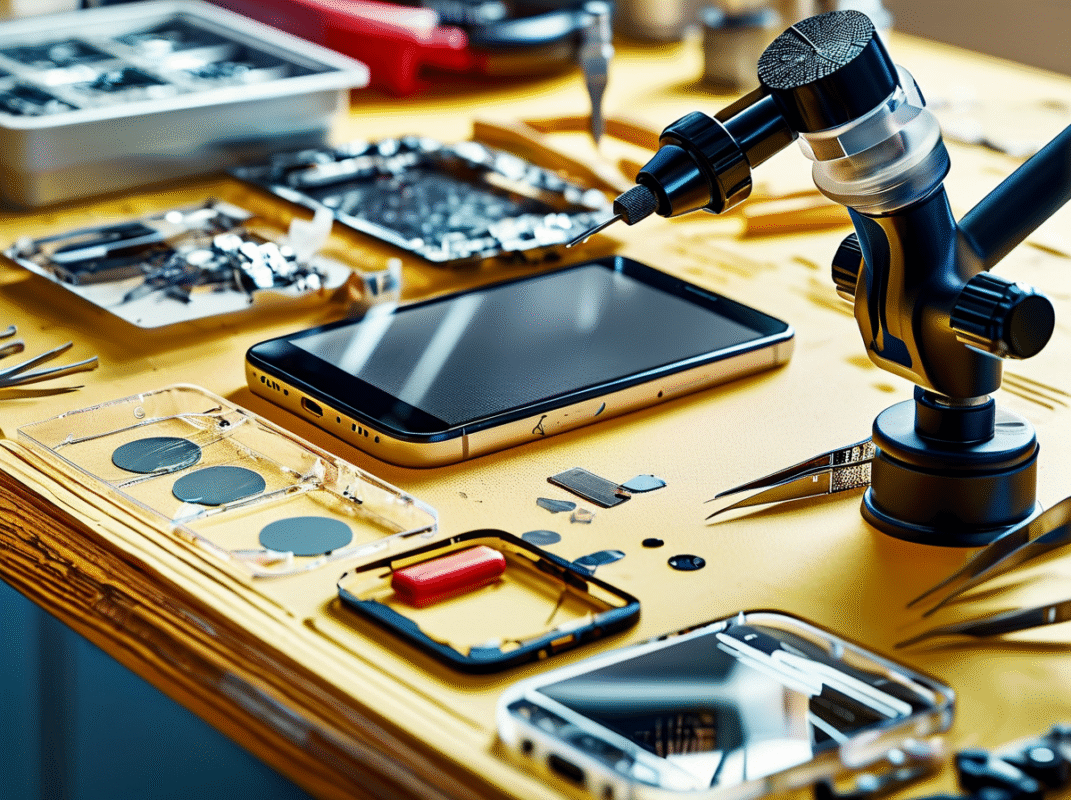
1. Gathering Your Tools and Materials
Quality replacement screen: Get a genuine Samsung S23 Ultra screen replacement from a supplier you trust. Check reviews to make sure it’s a good fit. OEM screens cost more, but they last longer and look better.
Heat source: You can use an iOpener or a regular hair dryer. Heat guns work too, but keep a close eye on the temperature. Heat each edge for about two minutes before you start prying.
Opening tools: Grab some suction cups and plastic picks from any repair shop. Metal tools can scratch the internals, so stick with plastic. An iFlex tool is really handy for getting that initial gap started.
Safety gear: Wear cut-resistant gloves to protect yourself from sharp glass. Safety glasses will keep debris out of your eyes. Keep a soft cloth nearby for cleaning smudges and keeping things tidy.
Screwdrivers and spudgers: You’ll need a Phillips #00 screwdriver. Spudgers are perfect for popping off those tiny cable connectors without breaking them. A pair of anti-static tweezers helps handle small components safely.
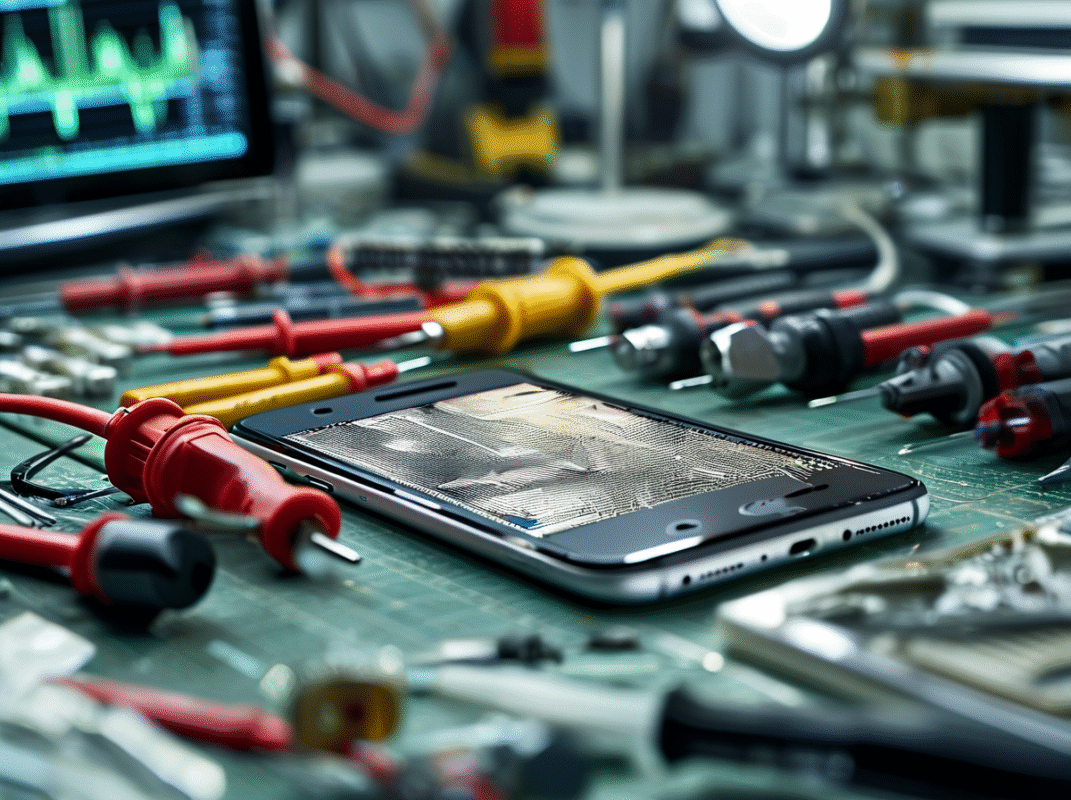
2. Prepping Your Phone for Screen Removal
Power down completely: Turn off your Samsung and try to get the battery below 25%. A fully charged battery can be risky if it gets punctured. Take off any case or screen protector before you begin.
Remove the SIM tray: Use the ejector tool to pop out the SIM tray and set your SIM card aside. This keeps you from accidentally damaging the mechanism.
Heat the back cover: Warm the edges of the back glass for two minutes or more. This softens the adhesive so you can slide a pick underneath without cracking it. Start on the right side and work your way around.
Create an opening: Place a suction cup near the middle of the heated edge. Pull up gently while sliding a thin pick into the gap. Work the pick around to cut through the adhesive.
Work around the corners: Angle your picks upward at the corners to follow the curve. Go slow here—the glass is fragile. Leave the picks in place so the glue doesn’t reseal.
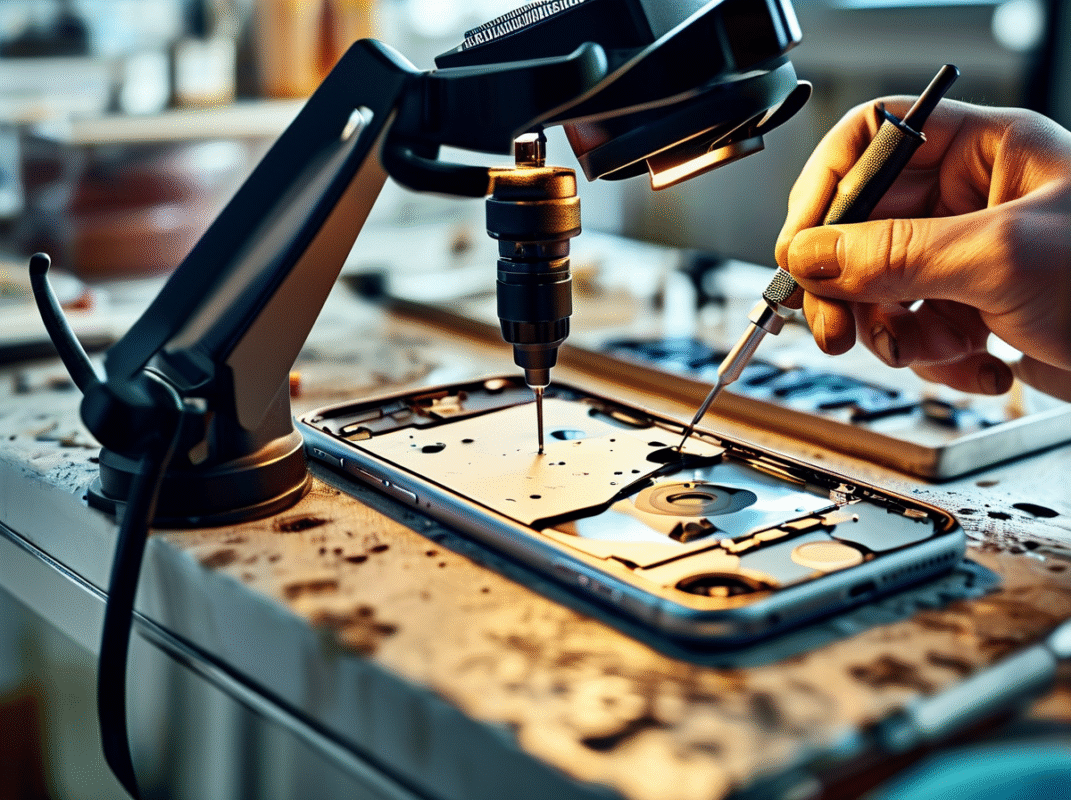
3. Disconnecting Internal Components Safely
Separate the NFC antenna: Gently lift the NFC antenna connector with your spudger. The charging coil needs to come off the main board, too. When reconnecting, press straight down to avoid bending the pins.
Remove the loudspeaker assembly: Take out the six small screws holding the speaker in place. Pry gently at one corner to release it from the frame. The speaker comes out with the charging coil still attached.
Disconnect the battery first: Always unplug the battery connector before touching any other cables. This cuts power and prevents accidental shorts. Use your spudger to lift the plug straight up.
Remove interconnect cables: Lift the four connectors that link the main board to the charging assembly. These flexible ribbons carry data between phone sections. Take note of where each one goes.
Unfasten the motherboard cover: Remove the five screws holding the metal shield in place. Pry up the cover starting from one corner. Now you can see the fingerprint reader and screen cables.
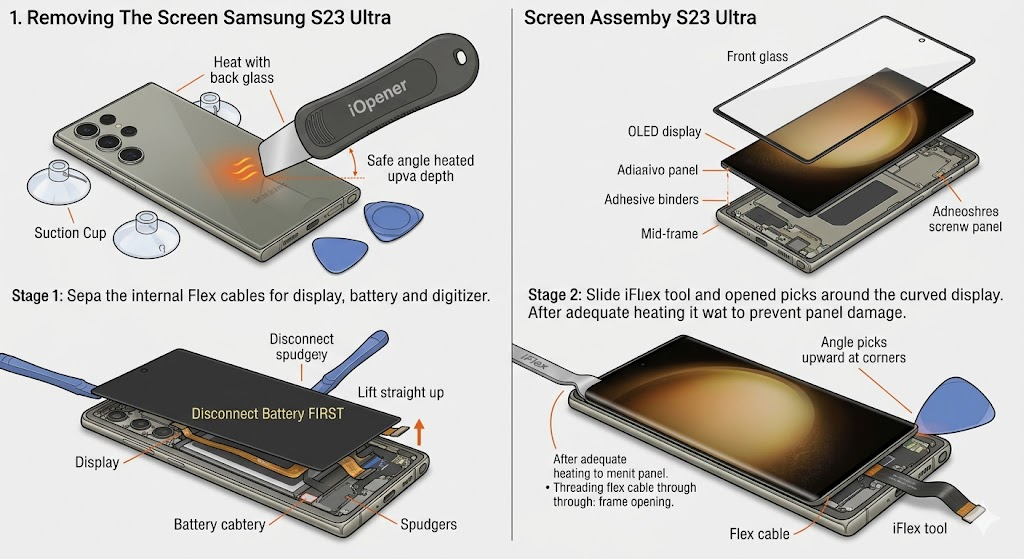
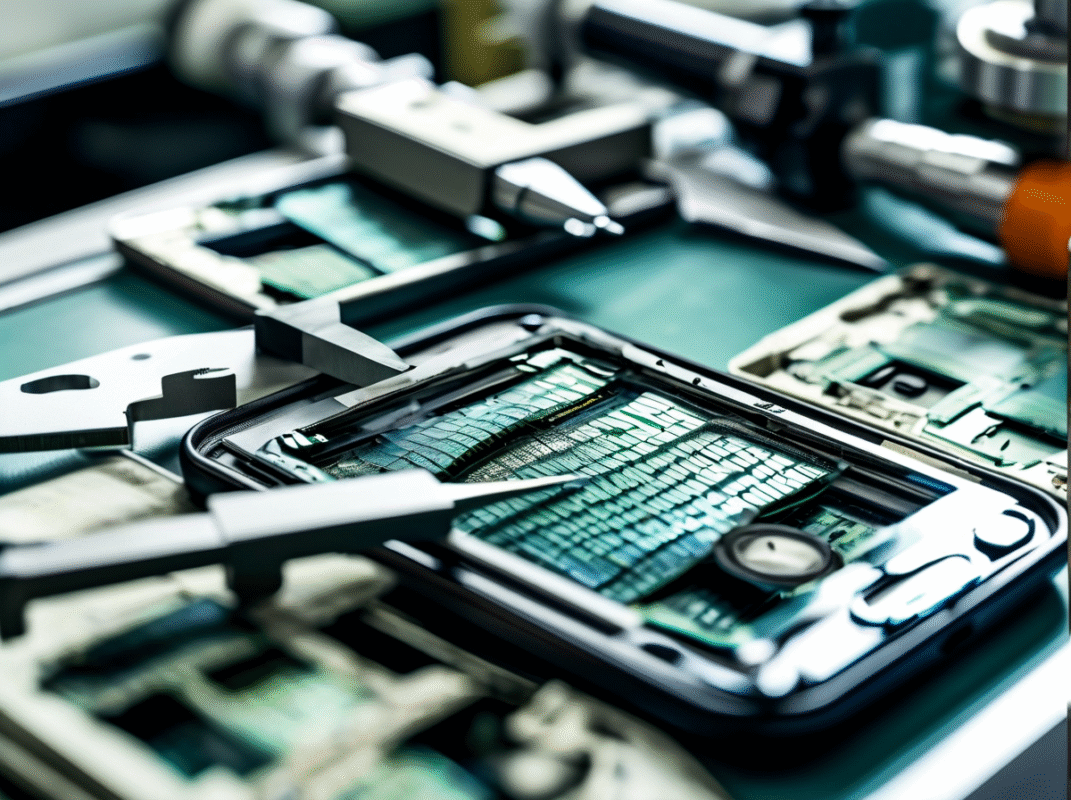
4. Removing the Damaged Screen
Disconnect screen cables: Use your spudger to pop the display connector off the main board. There’s another connector at the bottom that needs to come off, too. Be extra gentle—these ribbon cables tear easily.
Remove the motherboard: Unplug all the antenna cables and the S-Pen connector. Take out the final screw and carefully pry the motherboard up. Set it aside on an anti-static surface.
Heat the front display: Apply heat to the top edge of the screen until it’s warm to the touch. Don’t overdo it, or you could damage the battery underneath. A hair dryer on low is better than high heat.
Separate the front glass: Slide an iFlex tool between the glass and frame near the speaker. Pull up with your suction cup while guiding the tool underneath. The glass will begin to separate from the display panel.
Remove the display panel: Slide your picks around the edges to cut through the adhesive. Peel the panel up slowly, threading the cable through the frame. Your old, damaged screen is now off.
Why Cell Hub Fix Offers the Best Samsung S23 Ultra Screen Replacement in Richmond & Woodbridge, VA
At Cell Hub Fix, we specialize in professional Samsung repairs. Our expert technicians handle every Samsung S23 Ultra screen replacement with precision and care. We use genuine parts, back our work with a warranty, and offer fast, reliable service at competitive prices. Give us a call or visit our website to schedule your repair today.
Wrapping Up
Replacing your Samsung S23 Ultra screen can get your phone looking and working like new. If you follow the steps carefully, you’ll avoid damaging other costly components. The job requires patience and the right tools, but doing it yourself can save you money. Just remember to test everything before sealing it back up. Take it slow, be careful, and you’ll end up with a phone that looks brand new.
Frequently Asked Questions
Can I replace the screen myself at home?
Sure, if you’ve got the tools and patience. It’s a detailed job, so you’ll need to be careful not to break the cameras or sensors. We’d recommend watching a few tutorial videos and reading guides before you dive in.
How long does a screen replacement take?
A professional repair usually takes an hour or two. If it’s your first time doing it yourself, plan for three to four hours. Going slow helps you avoid costly mistakes.
Will my phone still be water-resistant after the repair?
Honestly, a screen replacement does compromise the factory water resistance. New adhesive provides some protection, but it’s not as good as the original seal. It’s best to keep your phone away from water after any repair.
What tools do I need for this repair?
You’ll need a heat source, plastic picks, suction cups, a small screwdriver, spudgers, and tweezers. Don’t forget safety gloves and glasses to protect yourself from sharp glass.


Recent Comments