


When an iphone 15 screen assembly fails after a “perfect” repair, profit slips fast and customers get loud. The real issue usually isn’t your hands—it’s shaky parts and finicky components.
Fixing screens means picking smarter stock, installing with care, and dodging callbacks that eat margins. Get this right, repairs stay solid, customers stay calm, and volume pays off.
Quick Notes for iphone 15 screen assembly
➔ Issue Diagnostics: Distinguish display discoloration, dead pixels, and touch unresponsiveness early.
➔ Premium Parts: Use OEM-equivalent OLED screens and quality adhesives for lasting performance.
➔ Precise Installation: Heat edges, remove shattered glass, reseat flex cables without bending pins.
➔ Waterproof Sealing: Align frame gasket, apply screen adhesive for factory-level water resistance.
➔ Final Calibration: Verify brightness, HDR, color accuracy and test sensors, speaker, and vibrator.
Identifying Your iPhone 15 Screen Issue
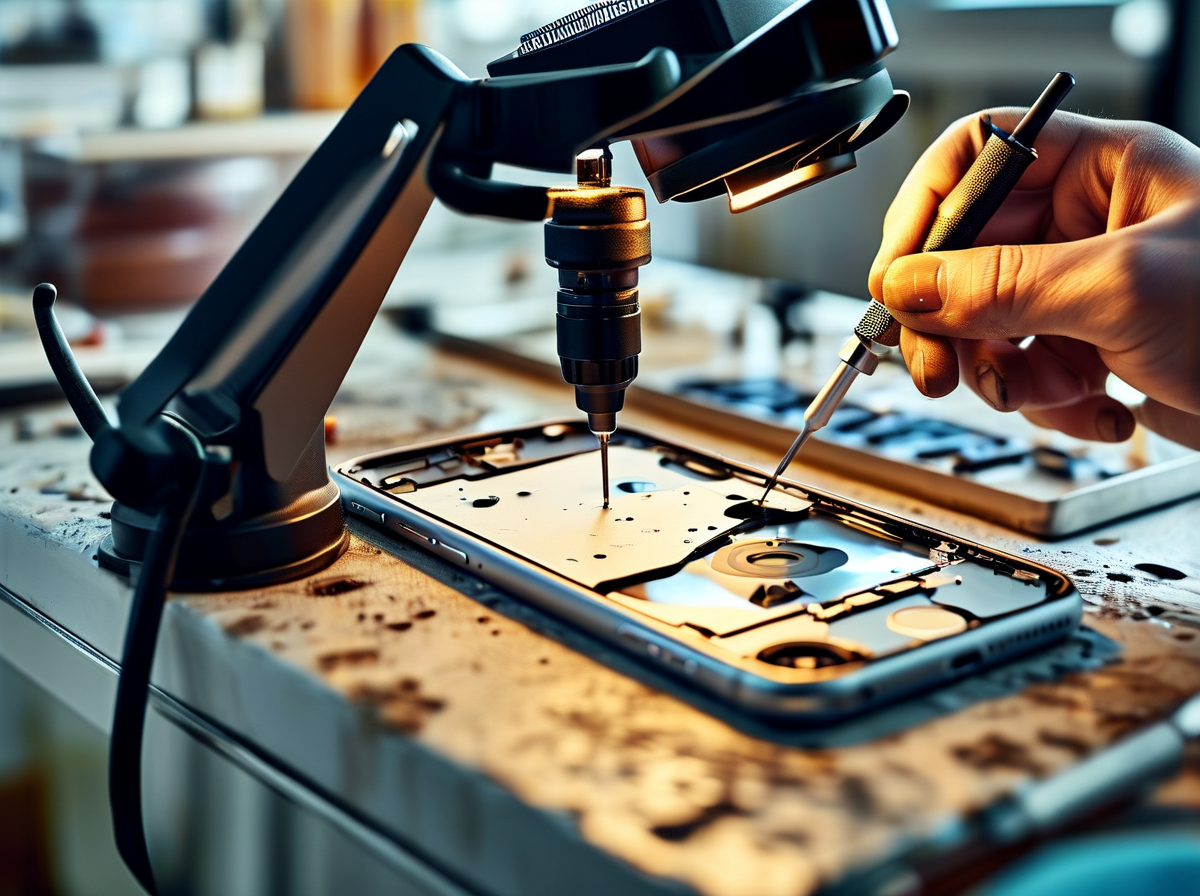
A damaged display can act weird in more than one way, and the signs are not always obvious during casual use. If your iphone 15 screen assembly starts showing odd colors, black spots, missed taps, or dim areas, a closer look helps narrow things down fast before replacing the full screen assembly or another part inside the iPhone display assembly.
How to distinguish display discoloration from a broken backlight
A quick visual inspection under different lighting conditions usually tells the story. On an OLED-based iPhone 15 screen, a true broken backlight is rare because the panel lights each pixel individually. Most dark patches point toward panel damage inside the iphone 15 screen assembly.
-
Signs linked to display discoloration
-
Yellow tint near corners
-
Green or pink color shift
-
Poor uniformity during gray-screen viewing
-
-
Signs linked to panel failure
-
Half the display stays dark
-
Flickering areas remain black
-
Brightness changes do not restore visibility
-
| Test View | Discoloration Result | Panel/Backlight-Type Failure |
|---|---|---|
| White screen | Uneven tint | Dark region |
| Black screen | Mild glow variation | Dead dark area |
| Outdoor brightness | Color imbalance | Missing illumination |
| Low brightness mode | Grainy tone shift | Persistent blackout |
Small defects may spread after drops. If your iphone 15 screen assembly already has cracks, pressure damage often reaches the OLED layer beneath the glass.
How to spot dead pixels on your OLED screen
Dead or stuck pixels stay visible no matter what app is open. A clean color test works better than casual scrolling.
-
Open a pixel test pattern
-
Switch between a full black screen, red, blue, green, and white screen
-
Watch for tiny dots that never change
Inside an OLED screen, damaged pixels usually appear:
-
Black at all times
-
Bright green or red constantly
-
Sharper than dust specks
A damaged iphone 15 screen assembly may also show clustered pixel failure after impact. One or two isolated points are annoying; spreading dots often mean the entire iPhone 15 display needs replacement instead of software troubleshooting.
When to suspect touch unresponsiveness in the digitizer
Touch problems usually come from the digitizer layer rather than the display colors themselves.
Symptoms often build gradually:
-
Missed taps near edges
-
Delayed swipe gestures
-
Weak tap accuracy
-
Random ghost touches
Check simple causes before blaming the screen assembly:
-
Remove a thick screen protector
-
Restart the phone
-
Test typing speed in Notes
If the lagging response remains, especially after liquid contact or a cracked panel, the flex cable inside the iphone 15 screen assembly may be loose or damaged. At that point, the whole iPhone display assembly is commonly replaced because the touch layer and OLED are bonded together tightly.
Essential Tools and Replacement Parts
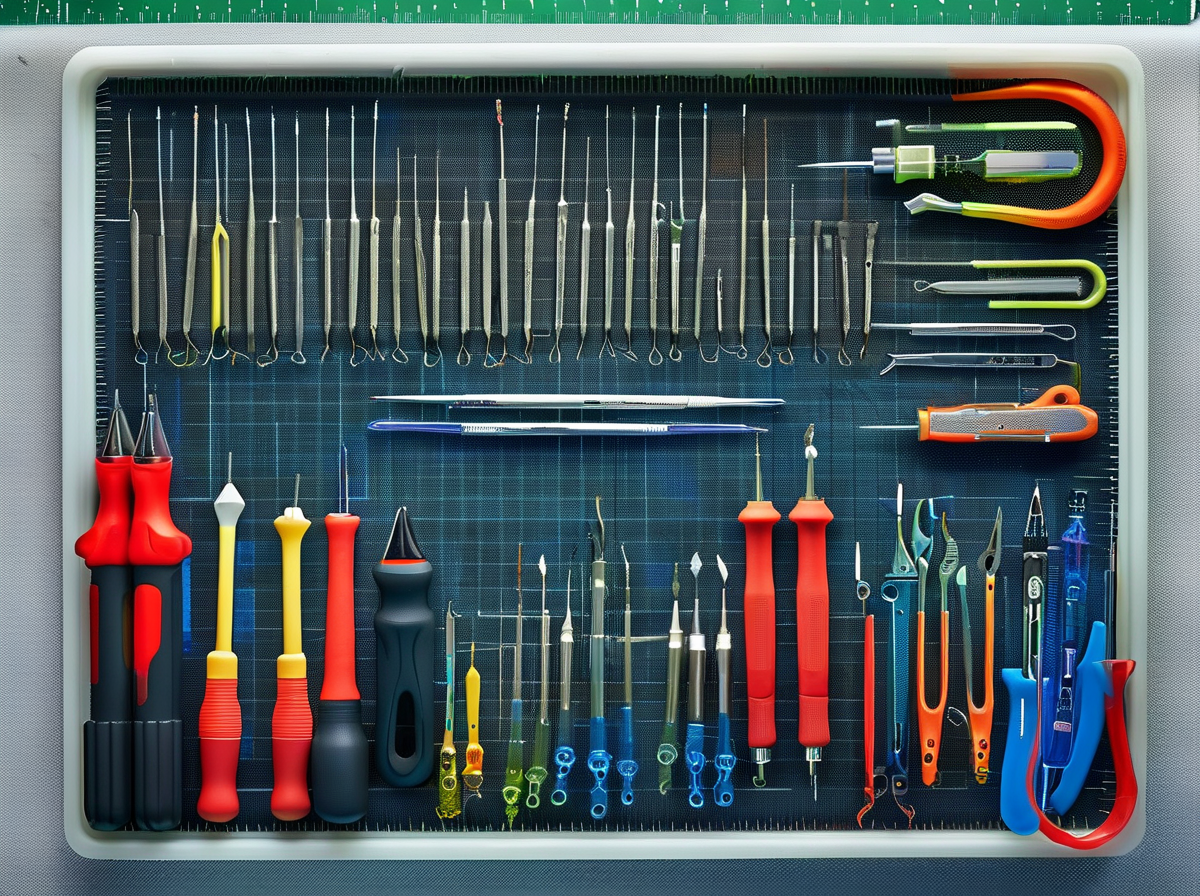
Upgrading or repairing your iphone 15 screen assembly starts with the right gear. If your iPhone 15 display cracked or lost touch response, don’t rush it. The right parts and tools make the difference between a smooth repair and a pricey redo. Let’s break it down in a practical way.
Choosing a premium-quality OEM equivalent OLED screen
When buying an iphone 15 screen assembly, screen quality isn’t just about looks—it affects daily use.
-
Core display factors:
-
Display quality
-
Sharp resolution
-
True-to-life color accuracy
-
Stable brightness levels
-
-
Touch performance
-
Fast touch sensitivity
-
No ghost touch issues
-
-
Build strength
- Long-term durability
-
-
OEM equivalent OLED screen keeps HDR and smooth refresh intact.
-
Low-grade LCD or incell swaps often reduce clarity.
-
A proper iPhone 15 display assembly should match factory calibration.
If you’re sourcing parts, Screen Stocks supplies tested iPhone 15 screen replacement units that meet original standards. A genuine-level iphone 15 screen assembly keeps your phone feeling brand new instead of “just fixed.”
Screwdriver set and spudger as your disassembly starters
Opening an iPhone 15 screen repair setup requires precision.
-
Essential toolkit:
-
Precision screwdriver set
-
Pentalobe bit
-
Magnetic tips for tiny screws
-
-
Spudger
- Non-conductive edge
-
Support tools
-
Plastic prying tool
-
Tweezers
-
Anti-static wrist strap
-
-
Use this flow:
-
Power off device.
-
Remove bottom screws using a magnetic driver.
-
Separate connectors gently with a spudger.
Rushing here can damage flex cables inside the iphone 15 screen assembly. Slow hands win.
Suction cup and pry tool for safe glass-lens removal
Screen separation needs control, not force.
-
Opening process:
-
Apply mild heat to soften adhesive around the glass lens.
-
Attach a suction cup near the edge.
-
Insert opening picks to guide frame separation.
-
Key components to protect:
-
Digitizer
-
Internal flex cables
-
Aluminum frame edges
Use gentle leverage. The goal is lifting the iPhone 15 screen assembly without bending it. Screen Stocks often reminds buyers that safe removal preserves resale value and internal integrity.
B7000 glue vs. screen adhesive – which guarantees a waterproof seal?
Sealing matters after installing an iphone 15 screen assembly.
-
Adhesive comparison:
-
B7000 adhesive
-
Flexible
-
Longer drying time
-
Possible residue removal cleanup
-
-
Screen adhesive strips
-
Pre-cut fit
-
Strong adhesion strength
-
Better waterproof seal
-
-
For near-factory resistance:
-
Clean frame thoroughly.
-
Align adhesive evenly.
-
Press screen firmly and allow proper curing.
B7000 works in a pinch, but precision-cut screen adhesive strips restore the iPhone 15 display assembly closer to original sealing standards. When customers order from Screen Stocks, pairing the right adhesive with the iphone 15 screen assembly keeps repairs solid and dependable.
Step-by-Step Screen Replacement Process
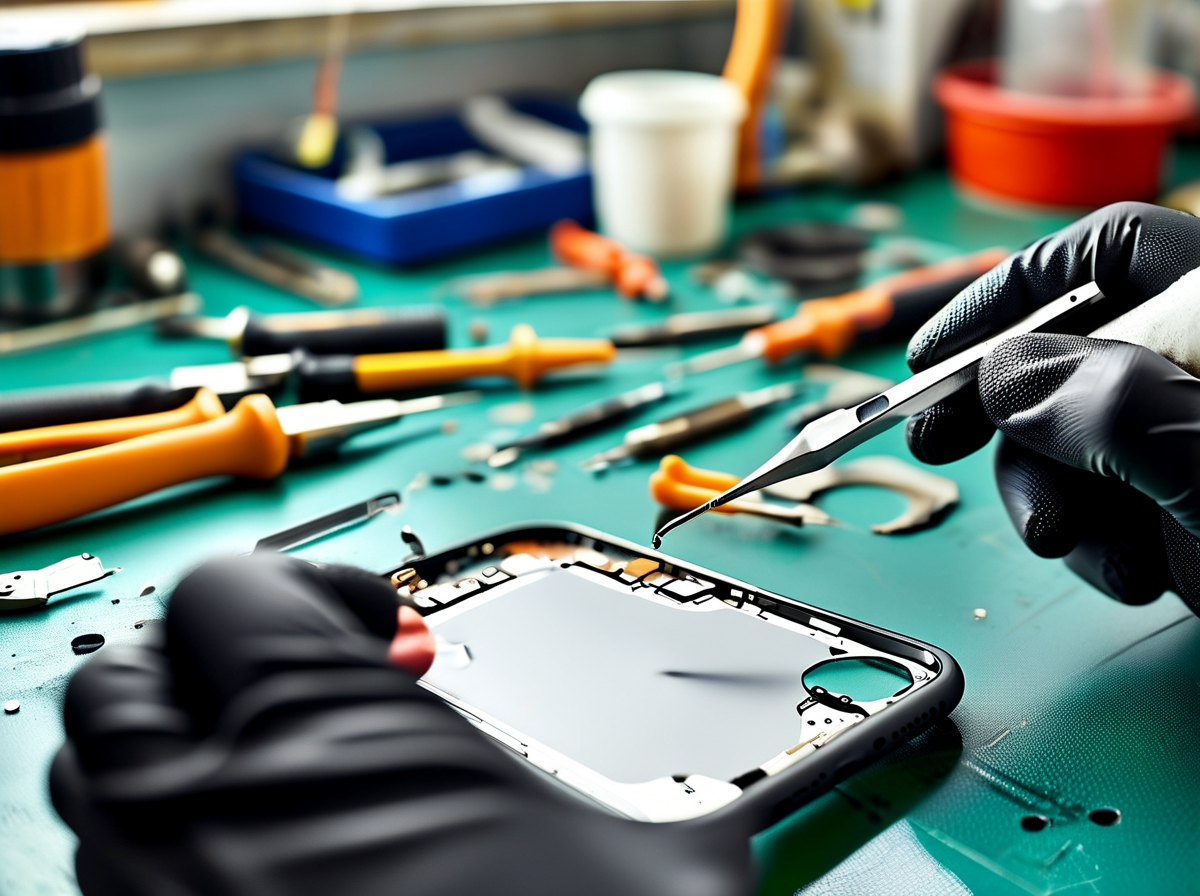
Working on an iphone 15 screen assembly isn’t just about swapping glass. It’s about precision, patience, and using the right tools at the right time. From lifting a shattered glass lens to sealing the housing tight, each move affects how your iPhone 15 display performs afterward. Let’s break it down clearly and practically.
Step 1 – disassembling the shattered glass lens
Handling a cracked shattered glass lens on an iphone 15 screen assembly starts with control and safety.
-
Wear safety glasses
-
Clear loose glass shards
-
Keep plastic opening tools nearby
Now the layered breakdown:
-
Edge Preparation
-
Apply steady heat using a heat gun around the frame.
-
Keep temperature balanced to soften adhesive, not warp the panel.
-
-
Initial Lift
-
Attach a suction cup near the lower edge.
-
Gently create separation without stressing the display.
-
-
Controlled Separation
-
Slide plastic opening tools along softened adhesive.
-
Lift slowly to protect internal layers of the iPhone 15 screen.
-
Rushing here? That’s how displays get damaged.
Step 2 – removing the Face ID module and ambient light sensor
Inside the iphone 15 screen assembly, delicate components demand a steady hand.
Key parts you’ll encounter:
• Face ID module
• ambient light sensor
• tiny screws and metal bracket
Start by removing the securing screws, then lift the bracket carefully. Use tweezers to guide the flex cables away from the logic board. Short motions. No force.
The front camera, Face ID sensor array, and ambient light unit must stay aligned. A bent cable can kill biometric performance fast. Treat every connector like it’s fragile—because it is.
Step 3 – installing the refurbished display panel and flex cable
Mounting the refurbished display panel is where your repair either shines or flops.
Follow this nested process:
-
Connector Check
-
Inspect connectors for debris.
-
Align using alignment pins.
-
-
Flex Installation
-
Seat the flex cable into the logic board port.
-
Apply light downward pressure only.
-
-
Secure & Test
-
Replace screws in cross pattern.
-
Power on for preliminary testing before sealing.
-
Technical comparison data:
| Component Area | Acceptable Resistance (Ω) | Connector Pins | Test Voltage (V) |
|---|---|---|---|
| OLED Power | 0.8–1.2 | 24 | 3.8 |
| Digitizer | 1.0–1.5 | 18 | 1.8 |
| Proximity | 0.5–0.9 | 12 | 2.8 |
| Face ID Link | 0.7–1.1 | 16 | 3.0 |
| Backlight | 0.9–1.4 | 20 | 5.0 |
A properly installed iPhone 15 display feels seamless—no flicker, no ghost touch.
Step 4 – applying frame adhesive with gasket alignment
Clean the housing before anything else. Old residue ruins seal strength.
Use:
-
Isopropyl wipe for cleaning
-
Even placement of adhesive strips
-
Careful gasket alignment
Press the frame adhesive evenly along the edge. Precision application keeps water resistance intact. Too thick? Screen lift risk. Too thin? Weak seal.
The iphone 15 screen assembly depends on balance here. Tiny gaps lead to long-term dust intrusion.
Step 5 – reassembly with waterproof adhesive sealing
Final assembly is about pressure and patience.
-
Lower display straight into the housing seal.
-
Apply uniform pressure across the frame.
-
Use light clamping during waterproof adhesive sealing.
After cure time, run:
-
Touch sensitivity test
-
Face ID authentication
-
Full brightness screen fit check
IDC’s 2025 mobile device repair outlook notes that over 38% of post-repair failures stem from improper sealing and reassembly pressure inconsistencies.
That stat says a lot. Do it right once.
For reliable parts, including a quality iphone 15 screen assembly, many repair pros turn to Screen Stocks for consistent fit and verified performance. When the iphone 15 screen assembly is sealed correctly, the phone feels factory-fresh again.
Troubleshooting Specific Assembly Errors
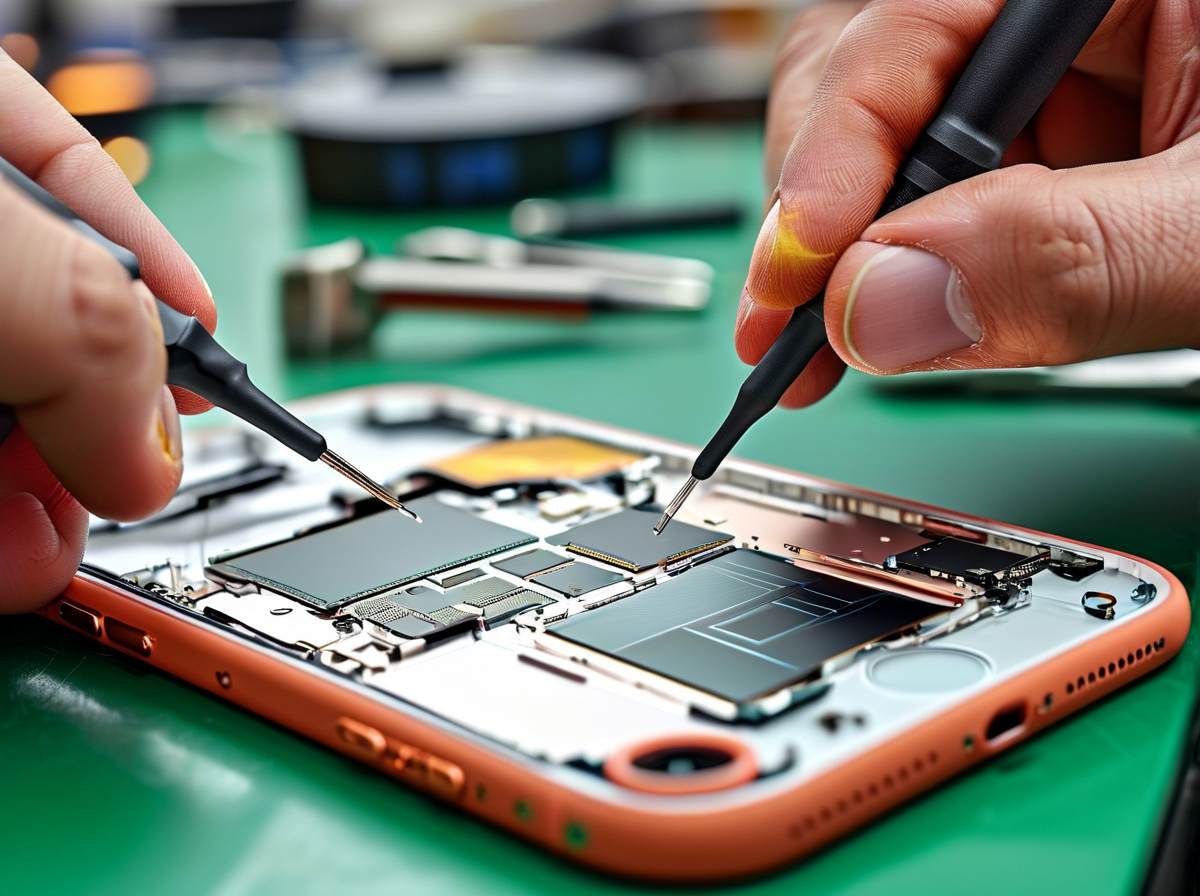
Fixing an iphone 15 screen assembly can feel frustrating when small errors lead to flicker, color shift, or dead spots. The good news? Most issues come down to connection points, display driver settings, or calibration tweaks. If you’re working with an iPhone 15 screen replacement or full iPhone 15 display assembly, this guide keeps it real and practical.
Flickering display recalibration guide for resolution issues
A shaky or unstable display flicker after installing an iphone 15 screen assembly usually traces back to configuration or contact points.
-
Check resolution settings
-
Inspect brightness adjustment
-
Confirm latest software update
-
Reinstall or refresh the display driver
To narrow it down, follow this path:
-
Power off the device.
-
Open and inspect the internal connection to the OLED panel.
-
Reseat the cable firmly.
-
Restart and run a recalibration tool if available.
If flickering sticks around, review:
-
Hardware
-
Flex seating
-
Connector pin alignment
-
-
Software
-
iOS version
-
Display refresh compatibility
-
Recent IDC commentary on mobile hardware stability notes:
“Post-2024 device repairs increasingly depend on firmware-display synchronization, not just part replacement.”
That hits home. A mismatched iPhone 15 display assembly can cause subtle flicker even when physically installed right. Choosing a precision-tested part from Screen Stocks lowers that risk significantly.
Flex cable reconnection tips for touch unresponsiveness
When the touchscreen feels dead after installing an iphone 15 screen assembly, it’s often a flex cable issue.
• Power down fully
• Use a plastic tool to avoid shorting
• Inspect the connector under bright light
Dig deeper with this checklist:
-
Disconnect battery before touching the digitizer cable.
-
Lift and reseat the reseating cable carefully.
-
Listen for the subtle click of a secure internal connection.
If touch remains inconsistent:
-
Hardware Layer
-
Bent pins
-
Dust in contact points
-
-
Software Layer
-
Force restart
-
Reset display settings
-
An iPhone 15 screen replacement that looks perfect can still fail if the digitizer isn’t fully aligned. Many repair pros using parts from Screen Stocks report fewer callback repairs because connectors snap in cleanly and stay stable.
Dead-pixel elimination methods without full screen replacement
A few dead pixels on your iPhone 15 display assembly don’t always mean total replacement.
Quick attempts:
-
Run a pixel refresher app
-
Try a brief software fix cycle
-
Apply gentle circular pressure over the display artifact
If pixels stay dark:
-
Confirm it’s not a stuck pixel (shows faint color).
-
Test with a solid red, green, and blue background.
-
Evaluate spread size.
Decision tree:
-
Single point
- Monitor for 48 hours
-
Clustered area
- Likely panel defect
-
Expanding patch
- Replace the iphone 15 screen assembly
In reality, OLED damage rarely reverses. Reliable sourcing matters. High-grade panels from Screen Stocks reduce the chance of receiving screens with factory pixel faults in the first place.
Color accuracy calibration to fix display discoloration
Odd tint? Yellow wash? Cool blue cast? That’s a color accuracy imbalance.
Start simple:
-
Toggle True Tone
-
Review white balance
-
Reset display settings
Then go deeper:
-
Compare against a reference image.
-
Adjust color profile in accessibility settings.
-
Test HDR playback.
Break it into layers:
-
Software calibration
-
Update iOS
-
Reset visual settings
-
-
Hardware validation
-
Check panel authenticity
-
Inspect for pressure marks
-
Severe display discoloration often points to a low-grade iPhone 15 screen replacement. A properly manufactured iphone 15 screen assembly should maintain stable visual adjustment without heavy tweaking.
If calibration fails and tint persists across apps, replacement becomes the practical call. Investing in a dependable iPhone 15 display assembly from Screen Stocks keeps colors sharp, blacks deep, and the overall vibe just right.
When an iphone 15 screen assembly acts up, it’s rarely random. Connections, calibration, and component quality make all the difference.
Post-Installation Calibration and Testing
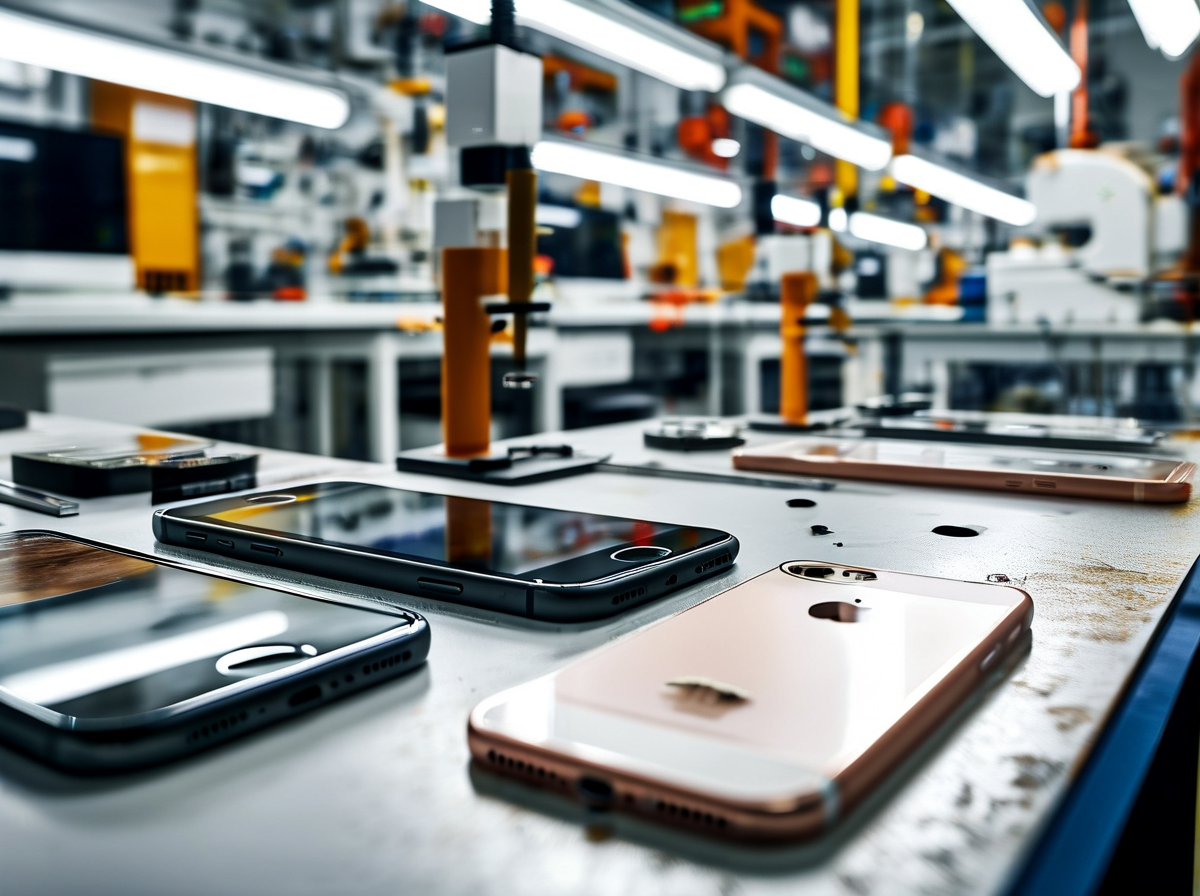
After installing the iphone 15 screen assembly, the job isn’t done until calibration and hardware checks are locked in. A properly tuned iphone 15 screen doesn’t just look good—it feels right. Let’s fine‑tune that new display assembly so your iphone 15 runs smooth and sharp.
Calibrating brightness, HDR support, and refresh rate
Dialing in your brightness levels and refresh rate settings is where performance really shows. A fresh iphone 15 screen assembly can look slightly off until proper display calibration is completed.
-
Open Settings → Display & Brightness.
-
Adjust brightness levels manually, then enable auto-brightness.
-
Activate HDR video and confirm HDR calibration via supported content.
-
Check ProMotion or high refresh rate settings using a frame-rate test app.
-
Fine-tune color temperature and enable true tone if available.
Key checkpoints:
-
Stable adaptive brightness
-
No flicker during HDR playback
-
Smooth scrolling at high refresh rate
If scrolling feels choppy or colors seem too warm, revisit color temperature and display calibration. Small tweaks make a big difference on the iphone 15.
Verifying pixel density and overall color accuracy
Once the iphone 15 screen assembly is calibrated, visual validation comes next. Sharpness and tone consistency confirm correct installation of the iphone 15 screen.
Below is a reference table for quick evaluation:
| Test Item | Expected Standard (iPhone 15) | Acceptable Range | Test Method | Pass Criteria |
|---|---|---|---|---|
| Pixel density | 460 PPI | ±2% | Magnified grid test | No visible pixel gaps |
| Color accuracy | ΔE < 2 | ≤3 | Colorimeter reading | Natural skin tones |
| Display uniformity | ≥95% consistency | ≥92% | Gray screen test | No dark patches |
| Color gamut | DCI-P3 100% | ≥98% | Gamut software | Full spectrum coverage |
| Resolution verification | 2556×1179 | Exact match | Diagnostic app | No scaling issues |
Steps for validation:
-
Visual inspection under white, gray, and black backgrounds
-
Compare with calibrated reference images
-
Run software-based resolution verification
-
Confirm even display uniformity
If pixel edges look soft, recheck alignment of the 15 screen assembly. Clean, crisp text signals proper pixel density and solid color calibration.
Testing proximity sensor, earpiece speaker, and vibrator motor functionality
A new iphone 15 screen assembly connects more than visuals. It links critical hardware like the proximity sensor, earpiece speaker, and vibrator motor.
Follow this nested test flow:
-
Sensor & Audio Validation
-
Call Simulation
-
Place a test call
-
Cover top bezel to trigger proximity sensor
-
Screen should instantly turn off
-
-
Audio Output
-
Play voice memo
-
Confirm clear audio output from earpiece speaker
-
-
-
Haptic & Feedback Check
-
Settings → Sounds & Haptics
-
Trigger vibration test
-
Confirm crisp haptic feedback from vibrator motor
-
Signs everything’s solid:
• No accidental screen wake during calls
• Clean sound without distortion
• Strong, even vibration response
If any component fails the functionality check, reseat connectors before sealing the iphone 15 screen.
For dependable replacement parts that pass these tests consistently, many repair pros rely on Screen Stocks. A quality iphone 15 screen assembly from Screen Stocks makes calibration smoother and long-term performance more reliable.


Recent Comments