


An iPhone touch screen not working after screen replacement can turn a smooth repair into a headache fast. A bright display proves little about touch; loose connectors, damaged flex cables, power trouble, or a faulty screen may be responsible.
A restart helps, but persistent glitches need careful diagnosis.
Why iPhone Touch Screen Not Working After Screen Replacement?
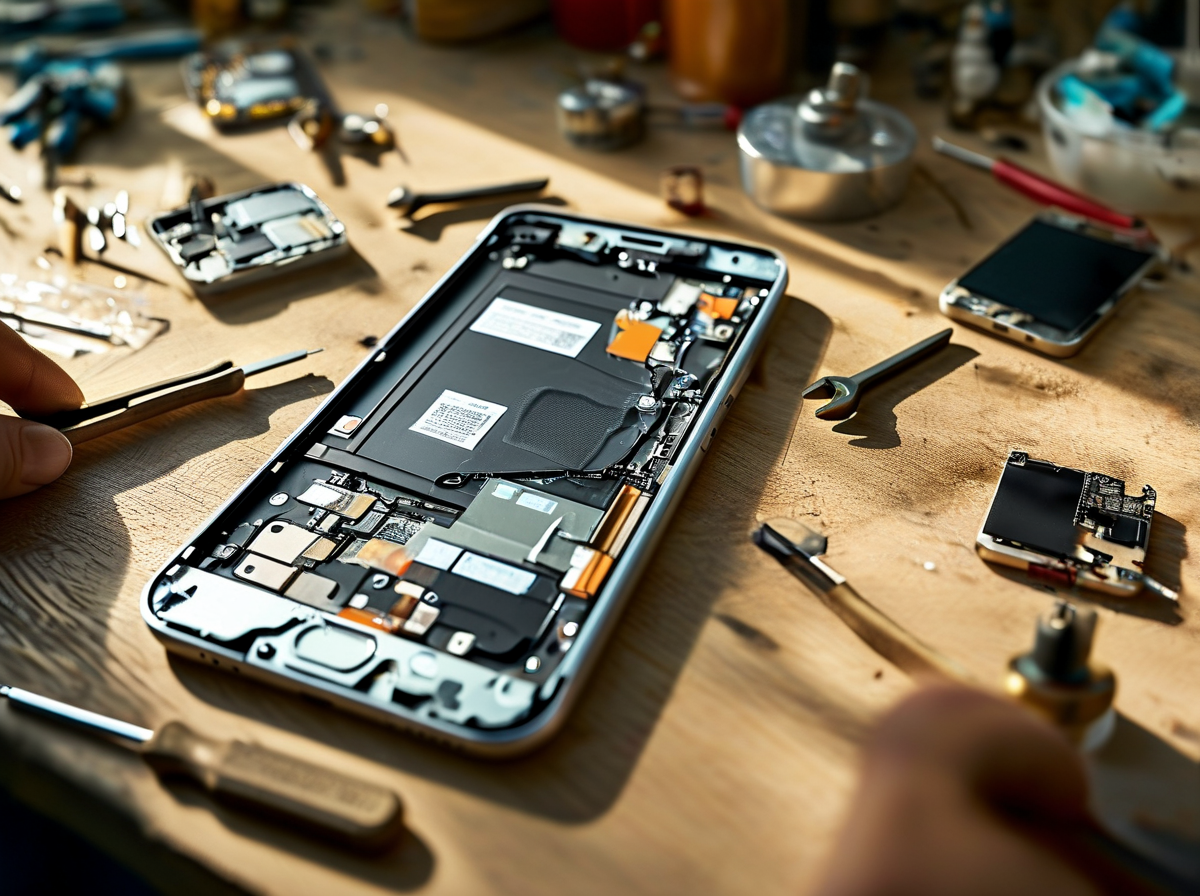
An iPhone display can look perfectly normal while taps go nowhere. When an iPhone touch screen not working after screen replacement becomes the headache, installation details usually deserve a close check.
Connector Damage During Screen Detachment
A hard pull during removal can turn a routine repair into a touch problem pretty fast.
-
Check the connection path:
-
Inspect each flex cable for tears or sharp folds.
- A damaged trace can stop touch while the display still works.
-
Examine every pin and socket under a microscope.
-
Slipping with a pry tool can damage the logic board.
-
Board-level faults may require professional soldering rather than another screen.
-
-
When an iPhone touch screen not working after screen replacement follows rough detachment, swapping panels repeatedly may not fix the underlying connector damage.
Misaligned Digitizer Flex Cable Seating
A digitizer converts finger contact into input, so even slight alignment trouble matters. The connector should sit squarely and snap into place without being forced.
-
Disconnect power before reseating the display assembly.
-
Check the connector and any locking latch for damage.
-
Apply even force, avoiding a concentrated pressure point.
Incomplete contact can produce poor touch response, dead areas, or ghost touch. Screen Stocks wholesale iPhone screen replacement parts should still be fitted carefully; good hardware cannot compensate for a crooked motherboard connection.
Shield Plate Installation Affecting Touch IC Chip
Reassembly can create another sneaky source of iPhone touch trouble.
-
Review the shield hardware:
-
Seat the metal shield flat.
-
Confirm each screw length matches its original location.
-
Avoid excessive tightening and pressure damage.
-
-
Inspect the electrical area:
-
Poor grounding can affect stability.
-
A misplaced screw may damage the motherboard or cause a short circuit near the touch IC.
-
-
These faults can explain touch failure accompanied by flickering or other display artifacts.
Insufficient Adhesive Application on Backlight Sheet
Uneven adhesive strip placement can leave the screen sitting poorly, creating unwanted pressure around the backlight or capacitive layer. That can contribute to unstable input or ghost touch.
Keep sealant even, control static electricity, and avoid adhesive bunching that changes pressure or light dispersion. Screen Stocks parts fitted with clean, consistent adhesion can help the assembly sit correctly.
So, for an iPhone touch screen not working after screen replacement, check connections, shielding, and seating before assuming the new display itself is bad.
iPhone Won’t Respond After Screen Swap? Here’s Why
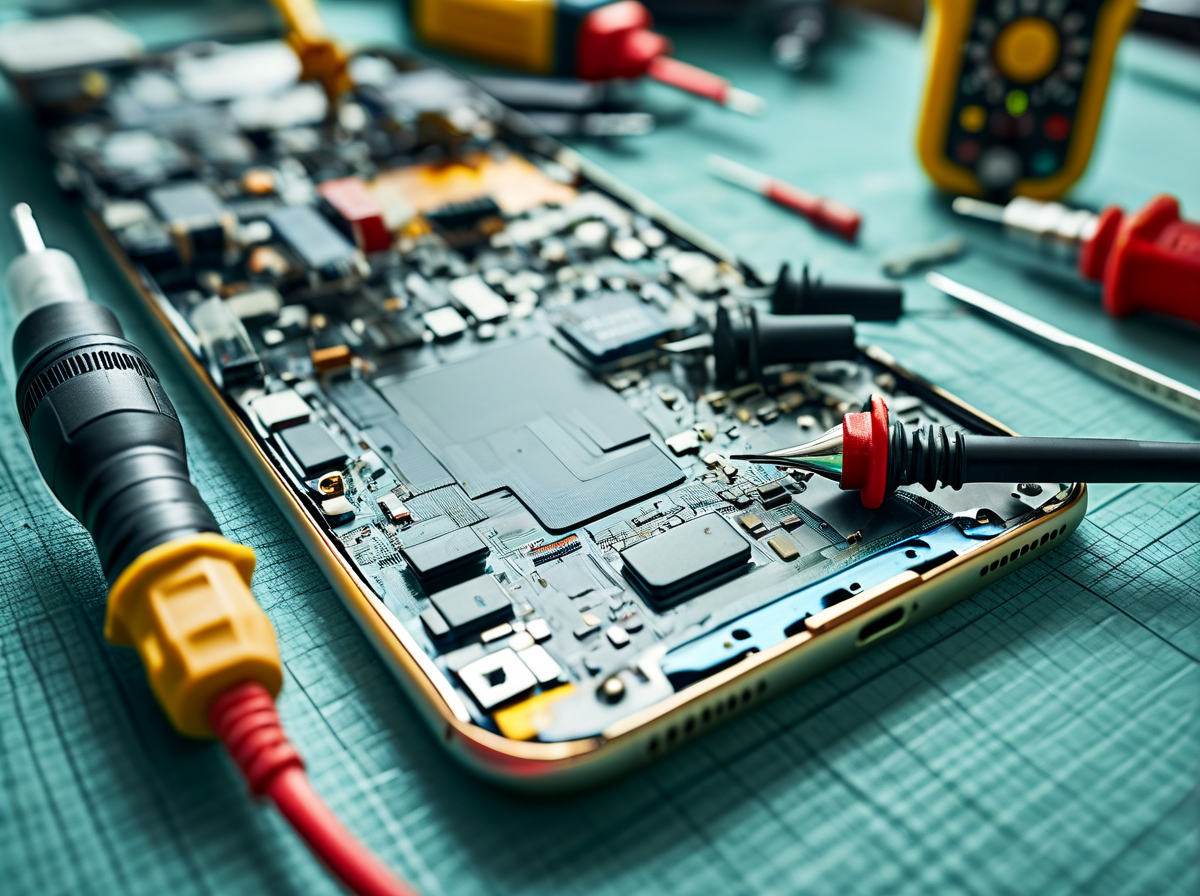
When an iPhone touch screen not working after screen replacement issue pops up, don’t assume the new display is bad. Battery power, transferred sensor parts, and connector seating can all knock out iPhone touch response. A few careful checks can narrow things down without guesswork.
Voltage Measurement Reveals Battery Connector Faults
An unstable power supply can make a perfectly good screen act dead or flaky.
-
Check battery power before blaming the digitizer.
-
Use a multimeter at the battery terminal to confirm expected voltage.
-
Watch for an unusual voltage drop when the phone starts.
-
-
If readings jump around, inspect deeper.
-
A damaged connector may interrupt the power rail feeding the logic board.
-
Current leakage or a short circuit needs proper board-level diagnosis, not repeated screen swaps.
-
For technicians handling an iPhone touch screen not working after screen replacement, Screen Stocks recommends ruling out power and connector faults before condemning a replacement part.
Proximity Sensor Ribbon Causing Touch Unresponsiveness
The top sensor hardware gets moved during many screen repairs, so this area deserves a close look. A pinched flex cable, poor pin alignment, or damaged ambient light sensor connection can create odd post-repair behavior.
-
Power down and disconnect the battery.
-
Inspect the transferred ear speaker module and nearby microphone assembly for tears or trapped cable sections.
-
Refit the parts without sharp folds or pressure.
Poor positioning can cause electrical or signal interference problems. If iPhone touch stops right after reassembly, testing with the sensor assembly safely isolated can help locate the culprit.
Motherboard Socket Misalignment and Ghost Touching
With an iPhone touch screen not working after screen replacement, connector alignment is another big one.
-
Inspect the screen connection.
-
Check the display connector and fpc connector for debris or uneven seating.
-
Look closely for pins bending inside the board connector.
-
-
Reseat it carefully.
-
Align the plug squarely; never mash it down.
-
A plastic spudger can help seat the connector without adding metal-contact risk.
-
-
Retest touch.
-
Bad contact can confuse the touch controller or digitizer IC, causing ghost touches and dead zones.
-
Damage to a ZIF socket or another hardware defect may require microsoldering repair.
-
Screen Stocks shop supply can support a clean screen replacement, but correct socket alignment still matters just as much as display quality.
3 Quick Fixes For Touchscreen Unresponsiveness
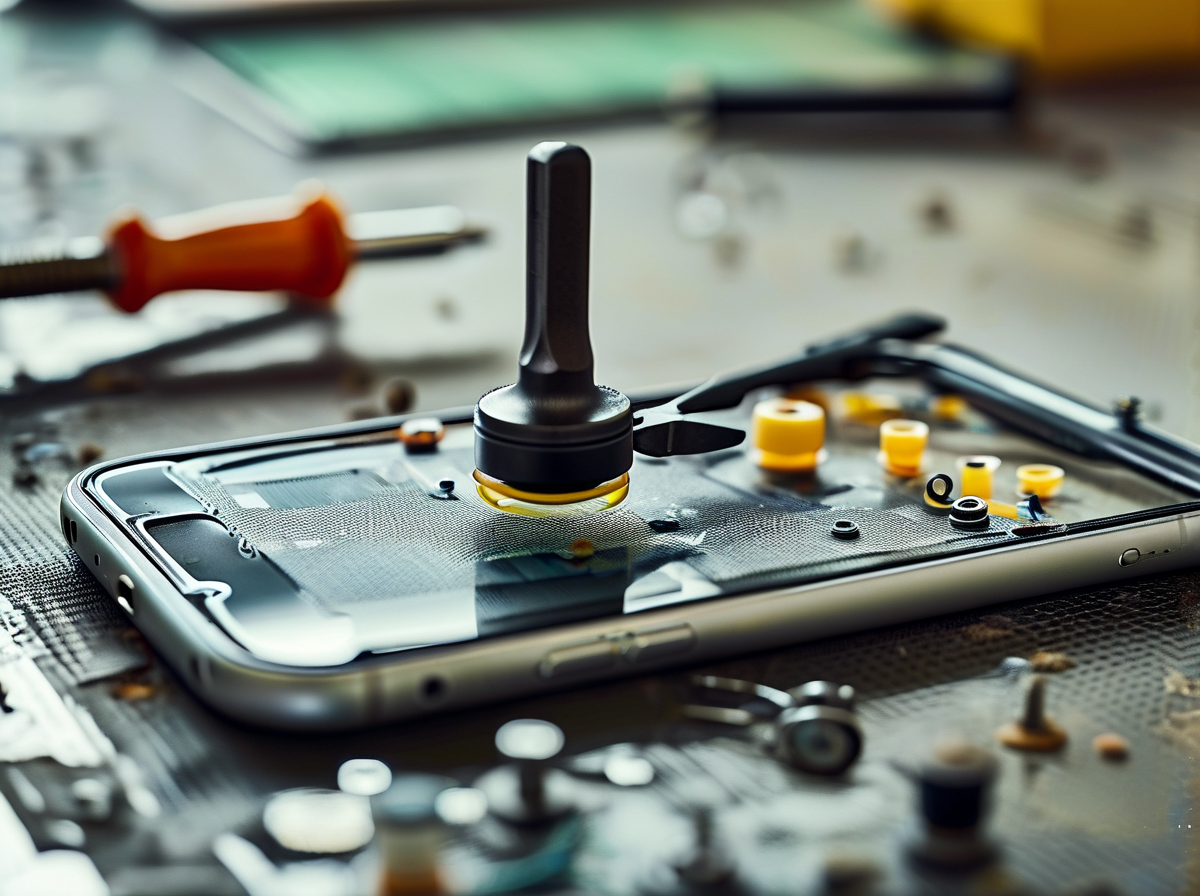
Finding an iPhone touch screen not working after screen replacement can be pretty frustrating, but reopening the phone right away is not always smart. Start with software checks, move carefully into connector inspection, then test the display itself. Screen Stocks recommends this order because it limits unnecessary handling while narrowing down common iPhone touch faults.
Force Restart and Firmware Update
When an iPhone touch screen not working after screen replacement appears immediately after repair, rule out software trouble before touching the screws.
-
Software check
-
Run a force restart to clear a possible system crash or temporary software glitch.
-
Check the operating system for an available firmware update.
-
If normal updating fails, use recovery mode with a computer.
-
A restart can also refresh temporary cache memory that may affect normal operation.
-
-
If the iPhone screen remains unresponsive, hardware becomes the more likely culprit.
Connector Inspection with Precision Screwdriver
An iPhone touch screen not working after screen replacement often comes down to a connection that is just a bit off. Power down the phone, remove each fastener with the correct precision screwdriver, and disconnect the battery before working near internal hardware.
Use a plastic spudger to check the digitizer cable and its socket on the logic board. Look closely for a bent connector pin, debris, or a loose connection. Screen Stocks replacement screens should be connected with gentle, even pressure rather than forced into place.
Hardware Testing Using Suction Cup Pliers
For stubborn iPhone touch screen not working after screen replacement cases, controlled testing helps isolate the bad part.
-
Open carefully
-
Use suction cup pliers for gradual panel separation.
-
Avoid twisting the glass panel or stretching display cables.
-
-
Compare hardware
-
Reseat the lcd assembly and check touch response.
-
Connect a known-good Screen Stocks display for a diagnostic test.
-
Normal touch suggests the original replacement panel is faulty.
-
Poor touch on both displays points toward connectors or board damage.
-
-
No manual calibration should be assumed necessary unless the repair procedure specifically calls for it.
Touch Calibration Steps For iPhone Screen Replacements
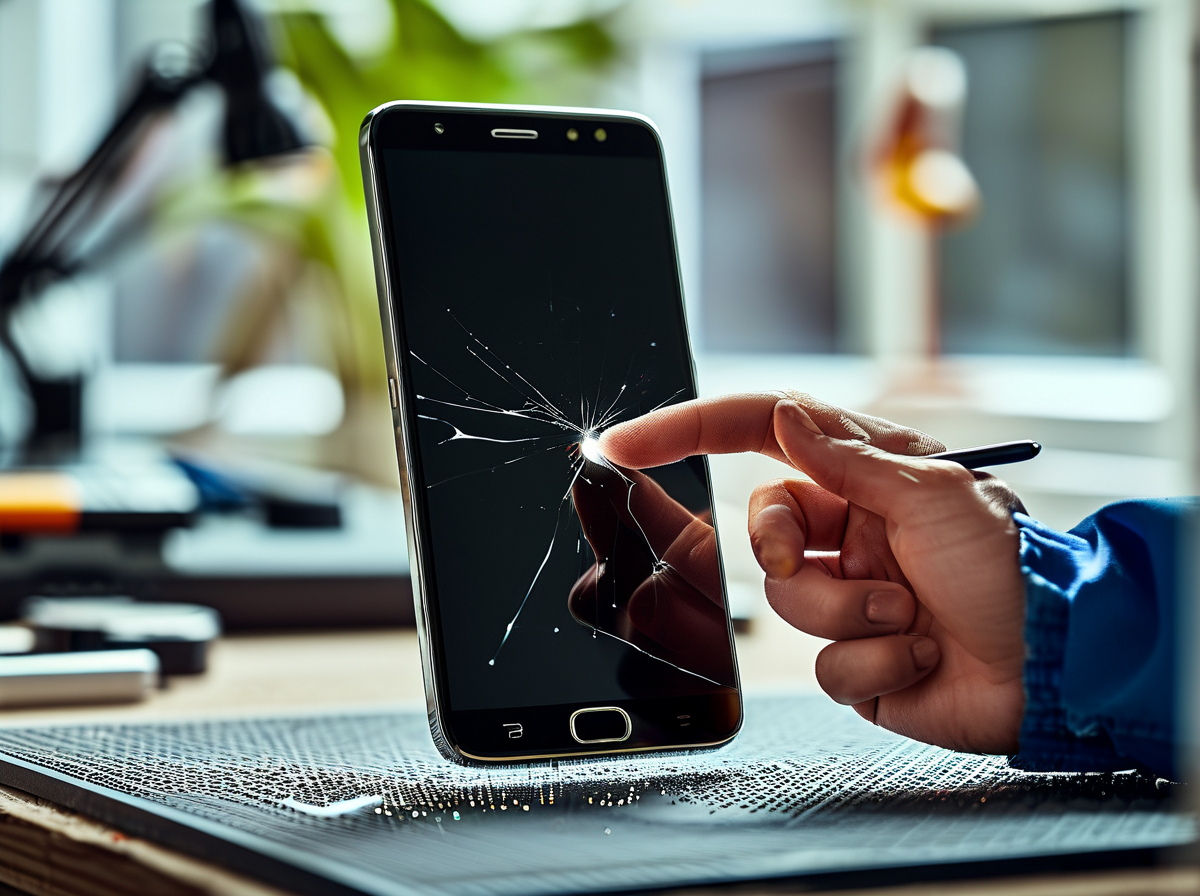
An iPhone touch screen not working after screen replacement can come down to a loose cable, incompatible part, damaged contact, or incomplete software setup. Before blaming the new touch screen, check the repair basics carefully. screen technology guide can support a clean repair workflow, but good parts still need correct connections, safe handling, and final testing to get touch response back on track.
Battery Disconnection and Grounding Clip Preparation
When an iPhone touch screen not working after screen replacement appears right after assembly, start with safe hardware checks.
-
Power preparation
-
Shut down the phone and disconnect the battery from the power source before touching display connections.
-
Use the correct screwdriver; the wrong screw in the wrong hole can damage the logic board.
-
-
Connection check
-
Inspect each display connector for bent pins, dirt, or poor seating.
-
Confirm the grounding clip sits in its original position. Limit static electricity with proper ESD precautions.
-
That basic reset often catches simple iPhone screen replacement problems without risky board work.
Heat Gun Reflow for Calibration Failure Fix
A heat gun is not a normal answer for an iPhone touch screen not working after screen replacement. Randomly raising the temperature can soften adhesive, shift tiny parts, or permanently damage the motherboard.
Safer call: If diagnostics point toward a cracked solder joint or touch IC fault, leave the thermal repair to a technician using a controlled soldering station and board-level repair methods. Heating the board just to see if it works is a costly gamble.
Software Calibration Mode Activation
Supported repair software can finish configuration after a compatible display installation, but iOS settings do not contain a magic manual calibration mode for a faulty digitizer.
-
Software checks
-
Run supported Apple diagnostics or repair tools where available.
-
Install current firmware when the repair procedure calls for it.
-
-
Results
-
Test touch response across the panel.
-
If the software or configuration utility cannot complete its process, recheck part compatibility and connectors.
-
For an iPhone touch screen not working after screen replacement, software cannot repair physical pin or cable damage.
Verification via Voltage Measurement and Hardware Testing
Finish with practical hardware testing, especially when Screen Stocks parts or other compatible displays have already been reseated correctly.
-
Functional checks
-
Swipe across every edge of the touch screen.
-
Check taps, typing, dragging, and multi-touch.
-
-
Electrical checks for qualified technicians
-
Use a multimeter only with the proper schematic and safe probe points.
-
Compare expected voltage and signal readings.
-
Check continuity only on an unpowered circuit where the service procedure permits it.
-
If touch remains dead, isolate the display from connector, power, or logic-board faults before replacing more parts.






Recent Comments