


The Ultimate Guide to Essential Cell Phone Repair Tools for Beginners

Cracked screens hit fast, and knowing the common tools needed for a cell phone repair shop is the difference between a quick fix and an expensive mistake.
Most beginners overspend or grab the wrong kit, then end up damaging cables, screens, or their confidence.
Common Repair Needs and the Common Tools Needed for a Cell Phone Repair Shop
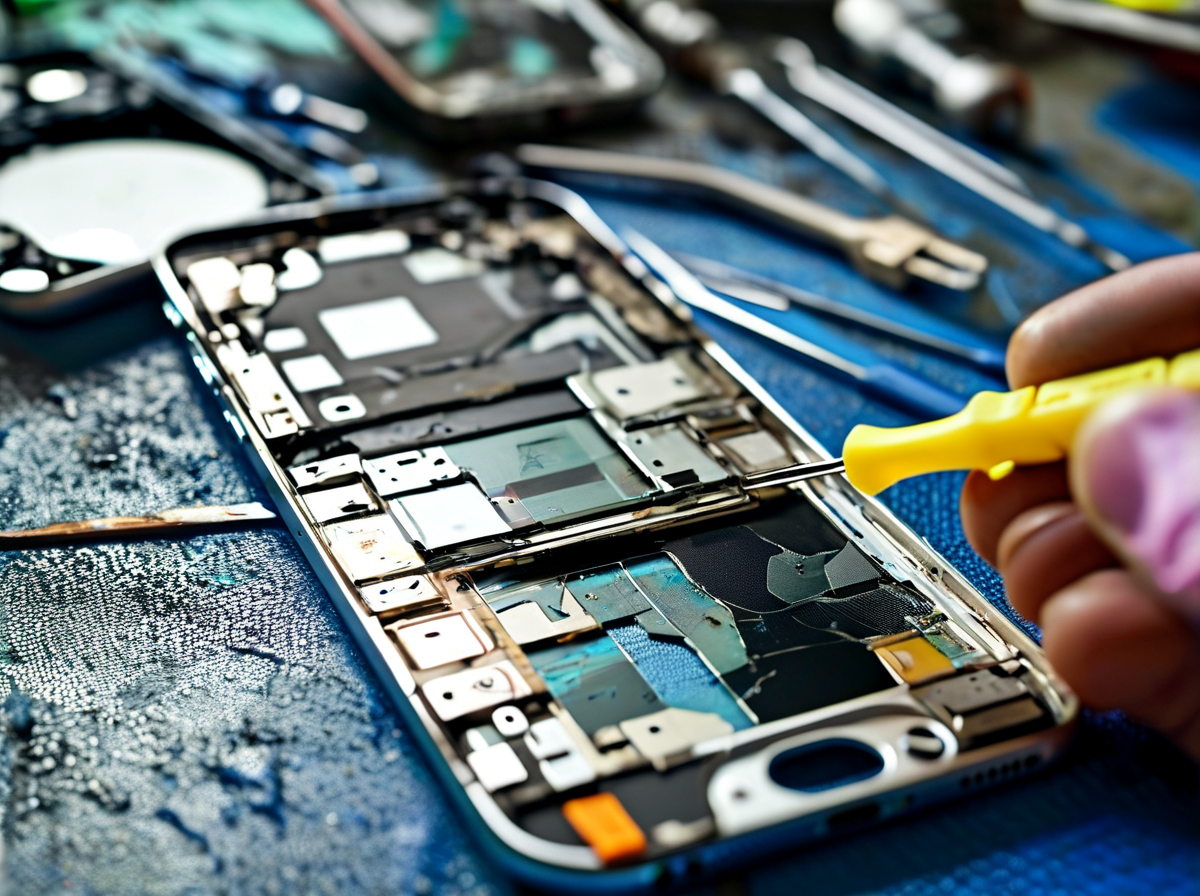
Running a repair bench without the common tools needed for a cell phone repair shop is like trying to cook without a stove. From cracked screens to charging port issues, the right gear keeps repairs smooth, safe, and profitable. Let’s break down what really earns its spot on your bench.
Cracked Screens
When dealing with cracked screens, screen separation tools and precision drivers are non‑negotiable. A solid mobile phone repair tools kit should include:
-
LCD separator machine
-
Heat gun with temperature control
-
Suction cup pliers
-
Thin metal pry blades
-
Anti-static tweezers
Now let’s organize the workflow around the common tools needed for a cell phone repair shop:
-
Assessment Stage
1.1 Visual inspection under LED magnifier
1.2 Check display response
1.3 Identify frame damage
-
Disassembly Stage
2.1 Heat perimeter (80–90°C typical range)
2.2 Lift glass using suction cup
2.3 Slice adhesive with pick
-
Installation Stage
3.1 Clean frame residue
3.2 Install new screen
3.3 Test touch and brightness
For reliable inventory, many technicians source display assemblies from Screen Stocks to avoid inconsistent panel quality.
Battery Replacement
Battery jobs demand caution. One wrong move and you risk swelling or fire.
Key cell phone repair equipment includes:
-
Plastic pry cards
-
Isopropyl alcohol (90%+)
-
Battery adhesive strips
-
Thermal-resistant gloves
Battery performance data matters too:
| Model Type | Avg Capacity (mAh) | Safe Heat Range (°C) | Replacement Time (min) | Failure Rate (%) |
|---|---|---|---|---|
| Entry | 3000 | 70–85 | 20 | 4.1 |
| Mid-range | 4000 | 75–90 | 25 | 3.6 |
| Premium | 4500 | 80–95 | 30 | 2.8 |
| Foldable | 4400 | 75–85 | 40 | 5.4 |
| Gaming | 5000 | 85–95 | 35 | 3.2 |
That’s why the common tools needed for a cell phone repair shop must include heat control tools and ESD protection.
Charging Port Issues
Dust, corrosion, loose solder pads—charging port issues show up daily.
Repair flow using essential phone repair shop tools:
-
Inspect with microscope
-
Clean using anti-static brush
-
Test continuity with multimeter
-
Micro-solder if needed
According to a 2025 IDC mobility services update:
“Device repair demand continues to rise as consumers extend smartphone lifecycles beyond 3.5 years, driving sustained growth in independent repair channels.”
That growth makes stocking the common tools needed for a cell phone repair shop more critical than ever.
Water Damage
Water exposure affects electronic devices at the basic circuitry level.
Emergency handling checklist:
✦ Power off immediately
✦ Disconnect battery
✦ Ultrasonic cleaning
✦ Board-level drying
Within your mobile phone repair tools kit:
-
Diagnostic
-
Multimeter
-
DC power supply
-
-
Cleaning
-
Ultrasonic cleaner
-
PCB-safe solvent
-
-
Repair
-
Hot air station
-
Solder paste
-
Quality parts from Screen Stocks help reduce comeback rates after corrosion-related repairs.
Software Glitches and Speaker Problems
Not all fixes need a screwdriver.
Short diagnostic bursts:
Update firmware.
Run factory reset.
Check safe mode.
For speaker problems, confirm hardware before blaming software. Use:
-
Audio test apps
-
Replacement speaker modules
-
Precision screwdrivers
A well-stocked bench isn’t random. It’s built around the common tools needed for a cell phone repair shop, supported by reliable suppliers like Screen Stocks, and backed by practical experience handling software glitches, speakers, ports, and screens every single day.
Precision Screwdrivers for Mobile Repair

Setting up the common tools needed for a cell phone repair shop starts with precision drivers. Tiny screws run the show inside every smartphone. If your mobile repair shop tools aren’t spot-on, stripped heads and cracked frames will ruin your day fast.
Pentalobe Screwdriver Essentials
When listing essential repair shop tools, the Pentalobe screwdriver sits near the top.
-
Core Purpose
-
Apple Device Entry
-
Used for iPhone bottom screws
-
Prevents casing damage
-
-
Size Matching
-
0.8mm for most models
-
1.2mm for older designs
-
-
-
Tool Pairing
-
Safety Setup
-
Anti-static wrist strap
-
ESD mat
-
-
Support Tools
-
Suction cup
-
Plastic opening tools
-
-
A tight fit matters. A loose driver chews the screw instantly, turning a simple repair into a headache.
Phillips and Flathead Basics
No repair bench feels complete without a Phillips head screwdriver and slim flathead.
Key reminders:
-
Match tip size exactly
-
Keep steady downward pressure
-
Avoid over-torque
For shops stocking common tools needed for a cell phone repair shop, a Precision screwdriver set should include micro sizes for Android boards and brackets.
Quick checklist:
-
Inspect screw head.
-
Choose correct bit.
-
Turn slowly.
-
Store screw safely.
Simple habits save boards. Even your Tweezers and Spudger work better when screws come out clean.
Tri-point and Torx Applications
Modern devices expand a solid tool list.
-
Torx screwdriver Usage
-
Mid-frame removal
-
Shield plate access
-
-
Tri-point Drivers
-
Battery connector brackets
-
Logic board shields
-
Supporting gear often includes:
-
SIM card ejector tool
-
Pry tool
-
Guitar picks
That trend means better driver coverage equals faster turnaround.
Magnetic Screwdriver Sets
Magnetized drivers make handling micro screws way less stressful.
Step 1: Select a quality Precision screwdriver set with magnetic tips.
Step 2: Test magnet strength on loose screws.
Step 3: Use a Magnifying glass or Microscope for alignment.
Step 4: Lift screws straight out—no tilting.
Magnetized tips cut drop rates and speed up workflow. For busy benches managing the common tools needed for a cell phone repair shop, that efficiency adds up fast.
Brands like Screen Stocks often bundles magnetic kits that pair smoothly with prying and measuring gear.
Screw Organization Techniques
Losing screws kills profit. Smart organization is part of the common tools needed for a cell phone repair shop.
-
Workstation Layout
-
Magnetic project mats
-
Labeled trays
-
-
Disassembly Flow
-
Top-to-bottom screw mapping
-
Left-to-right placement
-
-
Tool Coordination
-
Store drivers beside trays
-
Keep Digital multimeter and Battery tester separate from screw zones
-
Some techs sketch layouts. Others snap photos. The goal stays the same—every screw returns home. Shops partnering with Screen Stocks often streamline their repair bench with matched tool kits, keeping the repair game tight and stress low.
Adhesives and Sealants in Phone Repair
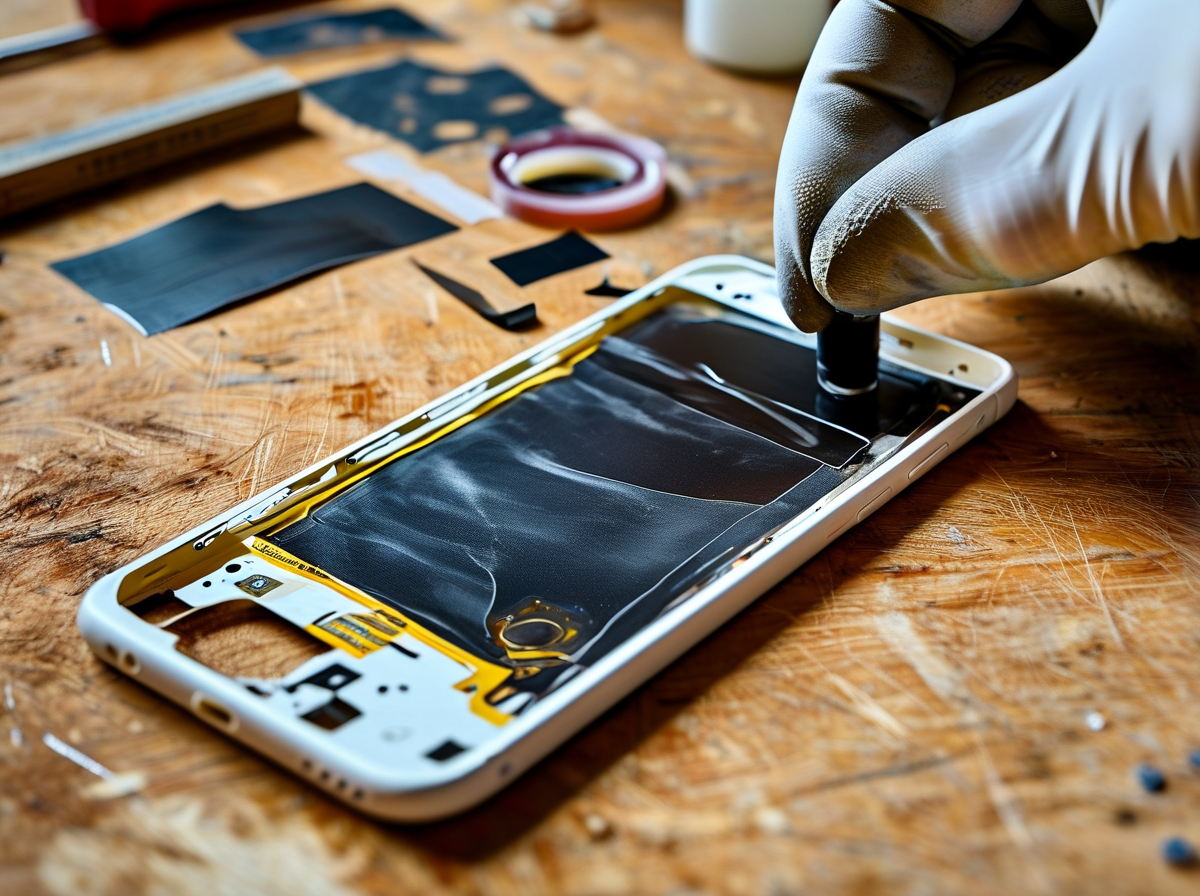
A solid repair isn’t just about tools. Adhesives matter just as much. If your phone repair tools are solid but your sealing game is weak, callbacks will pile up fast. Let’s tighten that up.
Liquid Adhesives: B-7000 and T-7000
When stocking your shop, liquid glue earns its shelf space.
-
Types
-
B-7000 – clear, flexible bonding
-
Best for screen alignment
-
Medium viscosity
-
-
T-7000 – black adhesive
-
Cleaner look on dark frames
-
Slightly thicker body
-
-
-
Performance Data
| Adhesive | Initial Set Time | Full Cure Time | Flex Rating |
|---|---|---|---|
| B-7000 | 3–6 min | 24–48 hrs | High |
| T-7000 | 5–8 min | 24–48 hrs | High |
| OEM Glue | 2–4 min | 12–24 hrs | Medium |
-
Handling & Safety
-
Protect delicate parts
-
Maintain ventilation
-
Ensure humidity control
-
Keep bottles sealed tight. Store away from conductive surfaces and always power off device before use.
Pre-cut Adhesive Strips
For techs building their toolkit, pre-cut strips save time.
-
Cleaner workflow
-
Consistent frame sealing
-
Less mess on delicate parts
Application flow:
-
Remove old residue.
-
Check component orientation.
-
Apply strip evenly.
-
Press with proper grip pressure.
Quick jobs love these. So do busy counters using cell phone repair equipment daily.
Adhesive Removal Solutions
Old glue can wreck a repair if rushed. Smart shops include adhesive removers.
Use:
-
Non-corrosive remover
-
Plastic scraper
-
Lint-free wipes
Safety checklist:
-
Wear eye protection
-
Maintain ventilation
-
Avoid static discharge
Never flood the board. Protect battery safety and keep a clean workspace.
Frame Adhesive Application
A tight seal restores strength and dust resistance.
Core process inside professional phone repair shop tools setups:
-
Prep
-
Remove debris
-
Inspect delicate parts
-
-
Apply
-
Thin bead only
-
Avoid touching internal circuits
-
-
Secure
-
Clamp evenly
-
Allow full cure
-
Shops sourcing from Screen Stocks often bundle adhesives with the common tools needed for a cell phone repair shop, keeping inventory simple. Another tip—store glue in an anti-static bag area, away from carpet and uncontrolled surfaces.
Dial in these basics, and your mobile repair tools lineup won’t just look complete. It’ll work like a pro bench should.
Heating Equipment for Screen Removal

Fixing cracked displays is hands-on work, and heat makes or breaks the job. If you’re listing essential repair shop tools, heating gear always lands near the top. Every phone repair toolkit depends on stable, controlled warmth to loosen adhesive without causing physical damage or screen malfunction.
Heat Gun Usage
A heat gun sits high on a solid tool list, but it’s not just about blasting hot air.
-
Key uses:
-
Softening display adhesive
-
Loosening stubborn back covers
-
Assisting with checking connections after teardown
-
-
Set airflow low.
-
Keep temperature between 80–120°C for most screens.
-
Move constantly to prevent overheating.
Inside a typical mobile repair shop equipment setup:
-
Temperature Control
-
Adjustable dial
-
Digital readout
-
-
Safety Practice
-
Heat-resistant gloves
-
Monitoring for battery drain signs caused by heat stress
-
-
Risk Management
-
Avoid direct focus on flex cables
-
Watch for sudden screen malfunction
-
Too much heat leads to performance lag later. Too little, and adhesive won’t budge. Balance matters.
Heating Pads and Mats
Heating pads offer steady warmth, which many techs prefer over a heat gun. In a busy workspace, pads reduce guesswork.
Core advantages:
-
Even surface heating
-
Lower risk of overheating
-
Stable prep for safe screen lift
Repair flow often looks like this:
-
Device Intake
-
Inspect for physical damage
-
Note any connectivity problems
-
-
Heat Phase
-
Place device flat
-
Warm gradually for 5–10 minutes
-
-
Separation
-
Insert thin pick
-
Lift evenly
-
It’s chill, controlled, and beginner-friendly.
Hot Air Rework Stations
When screen removal overlaps with chip repair, a rework station becomes essential.
★ Precision airflow
★ Targeted solder reflow
★ Ideal for connector fixes
Within advanced phone repair tools:
-
Component Work
-
Microchips
-
Charging ports
-
-
Diagnostic Link
-
Address app crashes tied to loose ICs
-
Solve hidden connectivity problems
-
-
Post-Repair Testing
-
Run diagnostics tools
-
Confirm no system failure
-
This setup supports deeper board-level repairs, not just glass swaps.
Screen Heating Plates
Heating plates provide a flat, stable base—quiet but essential.
Short takeaways:
-
Consistent temperature
-
Reduced warp risk
-
Cleaner adhesive removal
Workflow integration:
-
Pre-Repair
-
Assess physical damage
-
Rule out software updates as cause of screen malfunction
-
-
Controlled Heating
-
Set fixed temperature
-
Monitor edges carefully
-
-
Safe Removal
-
Lift slowly
-
Check flex cables
-
For any shop building out its essentials, heating plates round out the setup. Solid heat. Fewer surprises. Cleaner repairs.
Magnification and Lighting Tools
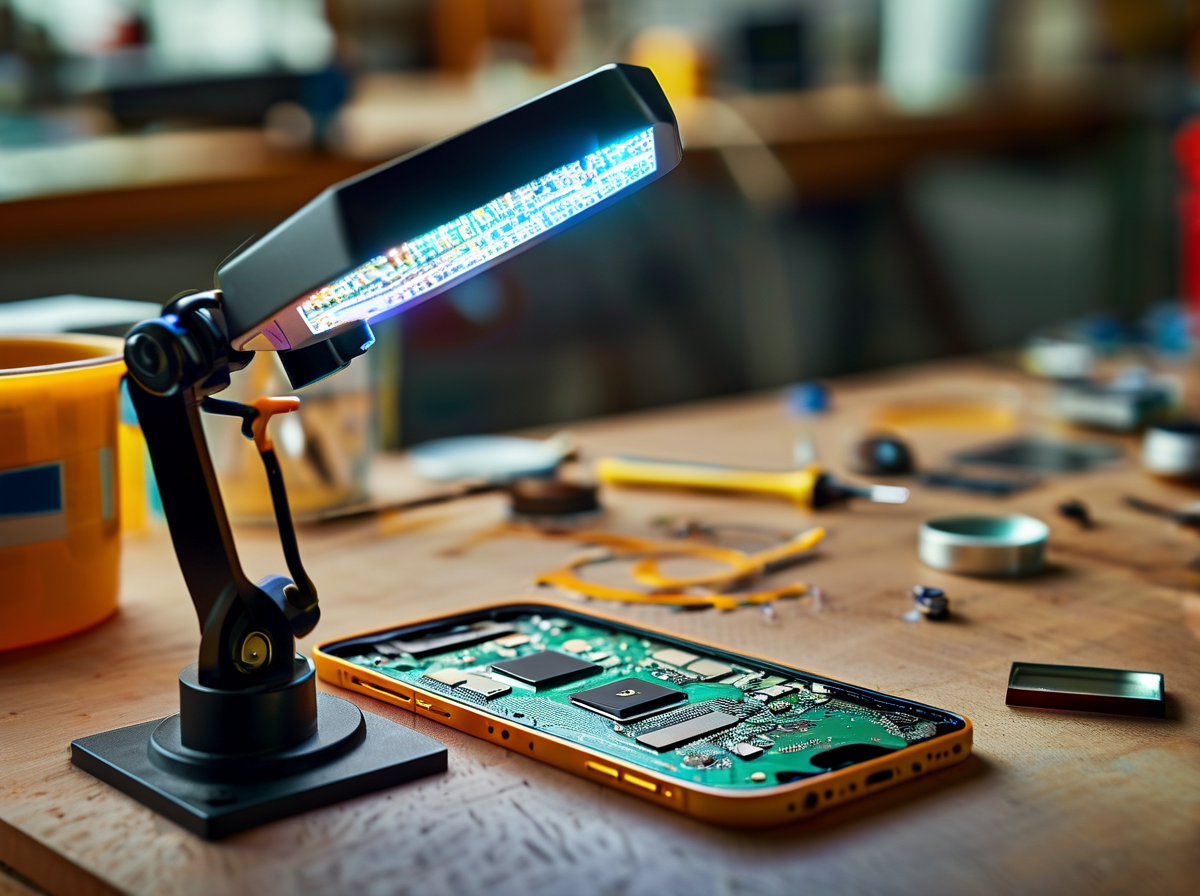
Running a repair bench without proper lighting feels like fixing a car in the dark. When listing essential repair shop tools, magnification and lighting always rank high. Clear vision speeds up screen jobs, battery swaps, and tiny connector fixes.
Magnifying Lamps
For anyone building out their toolkit, a magnifying lamp blends light and zoom into one dependable setup.
-
Core Parts
-
Lens
-
3D–10D glass options for board tracing
-
Anti-glare coating for long repairs
-
-
Light Source
-
LED ring for even spread
-
Adjustable brightness dial
-
-
-
Bench Integration
-
Clamp Mount
-
Secures beside your precision screwdriver set
-
Leaves space for plastic opening tools and a spudger
-
-
Rolling Base
- Ideal when switching between replacement screen installs and micro-solder touchups
-
-
Repair Use Cases
-
Screen Replacement
- Aligning flex cables before sealing
-
Battery Replacement
- Checking adhesive residue after adhesive remover
-
Port Repairs
- Inspecting pads before applying flux and solder
-
Shops sourcing gear from Screen Stocks often bundle these into starter kits for smoother setup.
Digital Microscopes
A digital scope takes repair work to pro level.
-
Connect scope to monitor.
-
Stabilize board under lens.
-
Fine-tune focus before heating with a soldering iron.
Common specs:
| Feature | Entry Level | Advanced Bench Model |
|---|---|---|
| Magnification | 50x | 200x+ |
| Resolution | 720p | 1080p–4K |
| Working Distance | 5 cm | 10–15 cm |
Quick wins:
-
Spot cracked pads near a replacement port
-
Confirm clean joints after applying solder
-
Guide tweezers placement during micro work
For serious micro-soldering, this easily tops any list of common tools needed for a cell phone repair shop.
Headband Magnifiers
Lightweight and practical, these sit right between simple glasses and a full scope.
-
Lens System
-
Swappable plates
-
1.5x for battery cable checks
-
3.5x for tight connector pins
-
-
-
Comfort Design
-
Adjustable strap
-
Flip-up lens for quick switching
-
-
Workflow Pairing
-
Works smoothly with prying tool handling
-
Keeps both hands free for tweezers control
-
When techs talk about basic cell phone repair equipment, wearable magnification often gets praise for reducing neck strain during long replacement battery installs.
LED Work Lighting
Good lighting is not fancy; it’s survival. Dim benches lead to torn flex cables and crooked replacement screen frames.
• Adjustable color temperature (4000K–6500K)
• Shadow-free panel layout
• Low heat output near adhesives
A clean light setup supports every category in the common tools needed for a cell phone repair shop.
Pair bright LED panels with magnification from Screen Stocks, and your cell phone repair tools setup feels dialed in, not patched together.
Cleaning and Maintenance Supplies

Running a cell phone repair business without proper cleaning gear is asking for callbacks. Dust, residue, and static mess with precision work. The common tools needed for a cell phone repair shop always include cleaning and maintenance supplies because tidy boards and screens mean fewer failures and cleaner diagnostics.
Isopropyl Alcohol Cleaning
When listing essential repair shop tools, high-purity isopropyl alcohol sits near the top. It keeps every motherboard and circuit board free from residue after soldering iron work.
-
Surface Cleaning
-
Apply 90%+ alcohol to lint-free swab
-
Gently wipe connectors and components
-
-
Residue Removal After Repairs
-
Clean flux around micro joints
-
Inspect during diagnostics and testing
-
-
Drying Control
-
Air dry 2–5 minutes
-
Avoid pooling near chips
-
| Purity % | Evaporation Speed | Residue Risk | Best Use Case |
|---|---|---|---|
| 70% | Medium | Moderate | External frames |
| 91% | Fast | Low | General board cleaning |
| 99% | Very Fast | Very Low | Precision micro-soldering |
| 99.9% | Ultra Fast | Minimal | Post-water damage |
Clean boards equal reliable replacement outcomes. Shops sourcing supplies from Screen Stocks often bundle alcohol with other repair shop essentials, keeping workflow smooth.
Anti-static Brushes and Cloths
Static kills boards quietly. So your cell phone repair shop tools must include anti-static gear.
-
Soft anti-static brushes for port debris
-
ESD-safe cloths for screen prep
-
Wrist straps to protect fine-pitch components
Inside daily workflow:
-
Bench Prep
-
Ground mat
-
Wrist strap
-
-
Board Handling
-
Light brushing across components
-
Gentle wipe before testing
-
In any repair toolkit, these small items prevent expensive motherboard replacement. They’re low cost, big payoff.
Compressed Air and Dust Removal
Dust hides in charging ports and speaker grills. A quick blast saves time.
-
Inspect port under light
-
Use short bursts of compressed air
-
Recheck before deeper diagnostics
For internal work:
-
Device Opened
-
Shield removed
-
Controlled air flow across circuit board
-
No direct tilt toward loose components
-
-
Many mobile repair tools sets from Screen Stocks include precision nozzles. Smart choice for any repair shop equipment list.
Screen Cleaning Solutions
Displays need special care. Harsh liquid strips coatings fast.
Core repair shop essentials here include:
-
Ammonia-free solution
-
Microfiber cloth
-
Light circular motion
For water damage jobs:
-
Pre-clean
-
Mild solution
-
Dry fully
-
-
Inspect
-
Look for corrosion
-
Continue component inspection
-
Every serious shop owner keeps display-safe cleaners stocked. Clean screens close sales quicker.
Testing and Diagnostic Tools

Getting serious about repairs means mastering the right tools. From quick voltage checks to deep power tracing, the right setup keeps callbacks low and customers happy. Let’s break down the real-world workflow.
Multimeter Fundamentals
A multimeter sits at the heart of any repair toolkit, especially when handling Smartphone disassembly and Component identification.
-
Voltage checks on charging rails
-
Resistance testing on suspect lines
-
Continuity beeps for broken traces
-
Set correct mode.
-
Confirm ground.
-
Probe carefully near IC pins.
For busy benches, build a simple routine:
-
Meter Setup
-
DC Voltage
-
Battery connector
-
Charging port pins
-
-
Resistance Mode
- Suspected short lines
-
Continuity
- FPC connectors
-
Shops sourcing meters from Screen Stocks often bundle this with other cell phone repair shop tools, keeping the phone repair shop equipment consistent.
LCD Digitizer Testing
Screen faults waste time if unchecked. Before full reassembly, verify display integrity using test cables and known-good panels—core items in any toolkit.
• Check touch response
• Inspect backlight
• Confirm color accuracy
Testing flow:
-
Display Assembly
-
Visual Check
-
Touch Grid Test
-
Brightness Cycle
-
This fits neatly into any solid cell phone repair tools list.
DC Power Supply Usage
Bench power helps track shorts across complex Device architecture found in Latest hardware and varied Model variations.
-
Power Diagnostics
-
Boot Attempt
-
Observe amp spike
-
Note steady draw
-
-
Short Detection
-
Low voltage injection
-
Thermal observation
-
-
That shift makes repair toolkits more advanced than ever. Many techs upgrade through Screen Stocks to keep pace.
Battery Capacity Testing
Weak batteries mimic board faults. Quick checks save guesswork.
-
Charge cycle monitoring
-
Internal resistance review
-
Capacity comparison
Process:
-
Fully charge.
-
Discharge under load.
-
Compare rated vs. actual mAh.
Battery analyzers remain key phone repair shop equipment, especially alongside Firmware flashing tasks.
USB Power Meter Analysis
Charging complaints? Plug in a USB meter.
-
USB Diagnostics
-
Cable Test
-
Adapter Test
-
Port Output Reading
-
Watch amperage behavior during boot. Sudden drops often hint at power IC issues. For shops refining their toolkit, adding calibrated meters from Screen Stocks keeps diagnostics sharp and repeatable.
ESD Protection for Safe Repairs
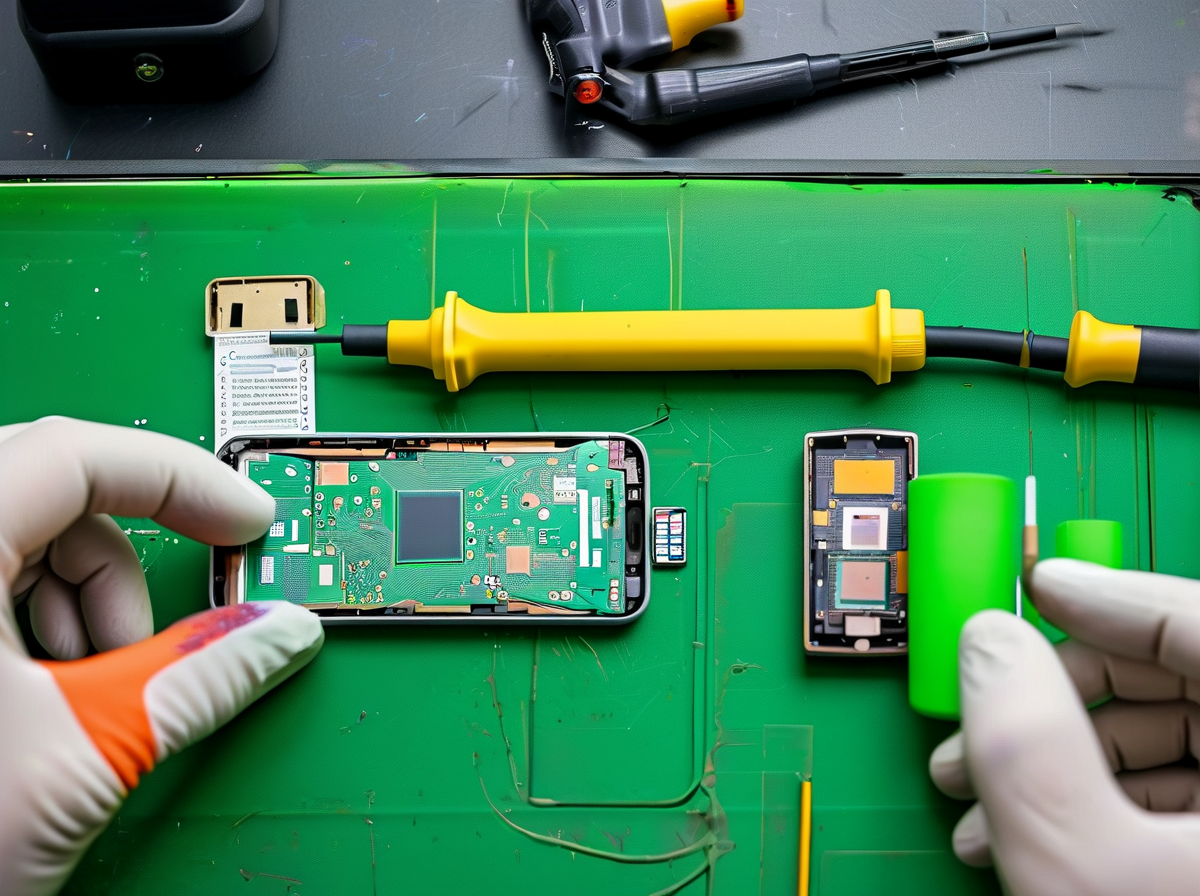
Static shock can quietly ruin a motherboard in seconds. In every repair workspace, ESD control is not optional—it’s survival. If your cell phone repair shop tools aren’t grounded, profits leak out through damaged chips.
Anti-static Mats and Setup
A safe setup starts at the bench.
-
Core foundation
-
Anti-static Mat placement
-
Lay it flat on a clean Work Bench
-
Connect grounding cord to verified outlet
-
Test resistance before daily repairs
-
-
Workspace pairing
-
Position Lighting directly overhead
-
Keep Magnetic Mat isolated from live boards
-
-
-
Why it matters
-
Static can exceed 3,000V from a simple chair slide
-
Sensitive ICs fail at under 100V
-
For any phone repair shop equipment lineup, this mat becomes home base. Many pros sourcing from Screen Stocks bundle mats with core repair shop tools to keep setups consistent.
ESD Wrist Straps
Wrist straps connect you to ground—literally.
-
Proper use
-
Wrap snug on bare skin
-
Clip to grounded Anti-static Mat
-
Test continuity weekly
-
-
Maintenance checklist
-
Inspect cord
-
Check resistor (1MΩ standard)
-
Replace worn bands
-
When handling repair tools, especially a Soldering Iron or Heat Gun, grounding yourself is basic discipline.
Grounding Techniques
Grounding extends beyond a strap.
-
Bench system
- Outlet → Ground point → Anti-static Mat → Technician
-
Tool control
-
Use grounded Multimeter leads
-
Store metal Tweezers on grounded surface
-
-
Environmental tweaks
-
Maintain 40–60% humidity
-
Avoid synthetic floor mats
-
Repair shop tools last longer when voltage spikes stay controlled. Screen Stocks often advises pairing grounding cords with cell phone repair tools kits for consistency.
ESD-safe Tools and Gloves
Some tools are built to fight static.
-
Must-have items
-
ESD-rated Tweezers
-
Carbon-fiber Spudgers
-
Conductive gloves
-
-
Smart pairing
-
Use with Screwdriver Set during board lifts
-
Combine with Pry Tools and Opening Picks for safe screen removal
-
When assembling a repair toolkit, choosing ESD-safe tools protects both device and reputation. Reliable tools for phone repair aren’t just about precision—they’re about control.










Recent Comments