If your samsung s24 ultra screen repair ends with a dead fingerprint sensor, that’s not bad luck, that’s a missed step.
This phone is picky, down to glass thickness and adhesive behaving like divas, and skipping calibration is what sends customers right back through your door. Nail that final adjustment and everything clicks, smooth unlocks, zero complaints, and repairs that stick the first time every single time, no drama.
Essential toolkit: heat gun, spudger, suction cup and screwdriver set for safe disassembly
Premium adhesive: use OEM-grade glass adhesive & waterproof seal to maintain durability and dust resistance
Accurate replacement: follow frame separation, adhesive cleanup, and precise LTPO OLED alignment to protect the sensor
Sensor calibration: perform built-in fingerprint calibration post-install to restore ultrasonic accuracy
Post-repair checks: troubleshoot touch malfunctions, dead pixels or discoloration; choose OEM parts if aftermarket panels fail
Overview of Samsung Galaxy S24 Ultra Fingerprint & Screen
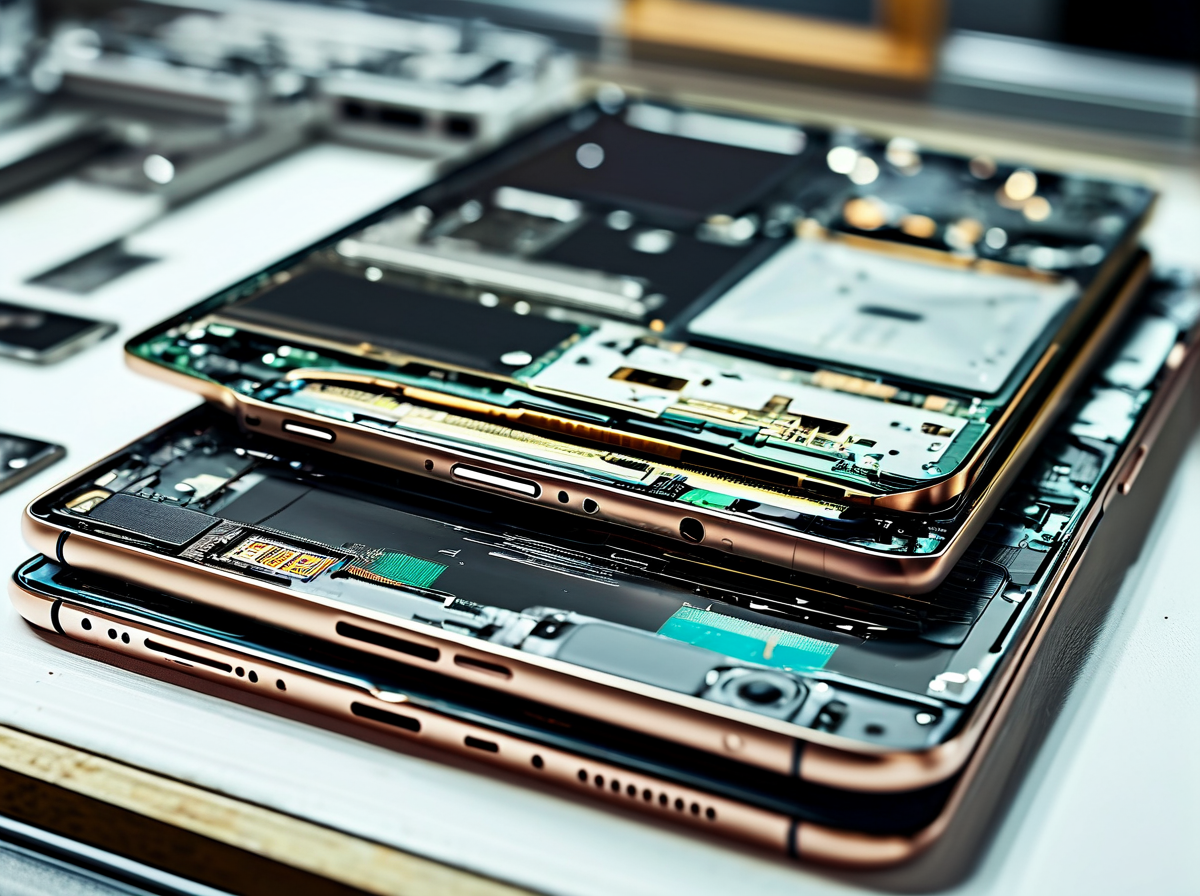
The samsung s24 ultra screen is more than glass and pixels—it’s a tight mix of display tech, sensor engineering, and frame precision. When people search for samsung s24 ultra screen repair or compare a Galaxy S24 Ultra display to older Samsung phones, fingerprint speed and clarity usually top the list. Let’s break it down in a practical way.
Exploring the Dynamic AMOLED 2X digitizer
At the top layer sits the glass. Beneath it lives the Dynamic AMOLED 2X panel, fused with digitizer technology that handles capacitive sensing and fine touch sensitivity.
-
High pixel density keeps visuals sharp.
-
The integrated display layer reduces input lag.
-
LTPO tuning shifts refresh rates on the fly.
Core layers inside the samsung s24 ultra screen:
-
Protective glass
-
OLED emission matrix
-
Touch sensing grid
-
Driver IC and control path
Key performance factors:
-
◦ Accurate multi-touch tracking
-
◦ Fast response at 1–120Hz
-
◦ Stable brightness under HDR10+
The Galaxy S24 Ultra display works as a unified stack, so damage to one layer—especially aftermarket swaps—can throw off touch mapping. That’s why suppliers like Screen Stocks focus on panel calibration consistency for samsung s24 ultra screen replacements.
OLED vs LCD impact on under-screen fingerprint sensing
The samsung s24 ultra screen uses an ultrasonic fingerprint sensor under an OLED display. LCD simply can’t transmit signals the same way because of its backlight structure.
Comparison snapshot:
| Feature | OLED display | LCD display | Impact on Sensor |
|---|---|---|---|
| Light transmission | Self-emissive pixels | Backlight dependent | OLED enables sensing |
| Screen thickness | Thinner stack | Thicker layers | LCD reduces accuracy |
| Sensor compatibility | Optical & ultrasonic sensor | Mostly external only | Limited under-screen use |
| Contrast ratio | High | Moderate | Clearer scan area |
Ultrasonic waves pass through the samsung s24 ultra screen stack, bounce off fingerprint ridges, and return data. With LCD, that signal gets scattered. So for anyone replacing a Galaxy S24 Ultra display, sticking with OLED isn’t optional—it’s required for reliable unlock speed.
Flex cable and frame roles in sensor performance
Inside the Galaxy S24 Ultra display assembly:
-
The flex cable manages signal transmission.
-
The sensor connection links to the motherboard.
-
The frame ensures component alignment.
Nested structure of influence:
-
Structural Base
-
Frame integrity
-
Maintains structural support
-
Controls pressure distribution
-
-
-
Electrical Path
-
Flex routing
-
Prevents signal drop
-
Reduces vibration interference
-
-
If the samsung s24 ultra screen is installed slightly off-center, even by a fraction, fingerprint reading can feel inconsistent. Screen Stocks emphasizes correct seating and adhesive balance because poor vibration dampening affects sensor echo return.
OEM vs Aftermarket glass panel quality comparison
When choosing between OEM glass panel and aftermarket glass panel, the difference shows fast.
OEM advantages:
-
Higher optical clarity
-
Stable adhesion properties
-
Strict manufacturing standards
Aftermarket risks:
-
Lower glass quality
-
Reduced brightness
-
Slight fingerprint delay
For samsung s24 ultra screen buyers comparing cost, durability matters. An OEM-grade Galaxy S24 Ultra display holds up better under daily drops and pressure. Aftermarket panels may work, sure—but fingerprint precision and long-term durability often dip. That’s why repair pros sourcing from Screen Stocks check supplier grading before stocking Samsung S24 Ultra display units.
In short, the samsung s24 ultra screen isn’t just a screen. It’s a calibrated system where OLED tech, frame alignment, and glass quality all decide how smoothly your phone unlocks.
Essential Tools and Preparation Steps
Working on a samsung s24 ultra screen isn’t just about swapping glass. It’s prep, patience, and the right gear. Split the keyword into clear intent: Samsung / S24 Ultra / screen—brand, model, component. When handling a samsung s24 ultra screen, or even planning a s24 ultra screen replacement, smart preparation keeps your Samsung S24 Ultra display safe and responsive.
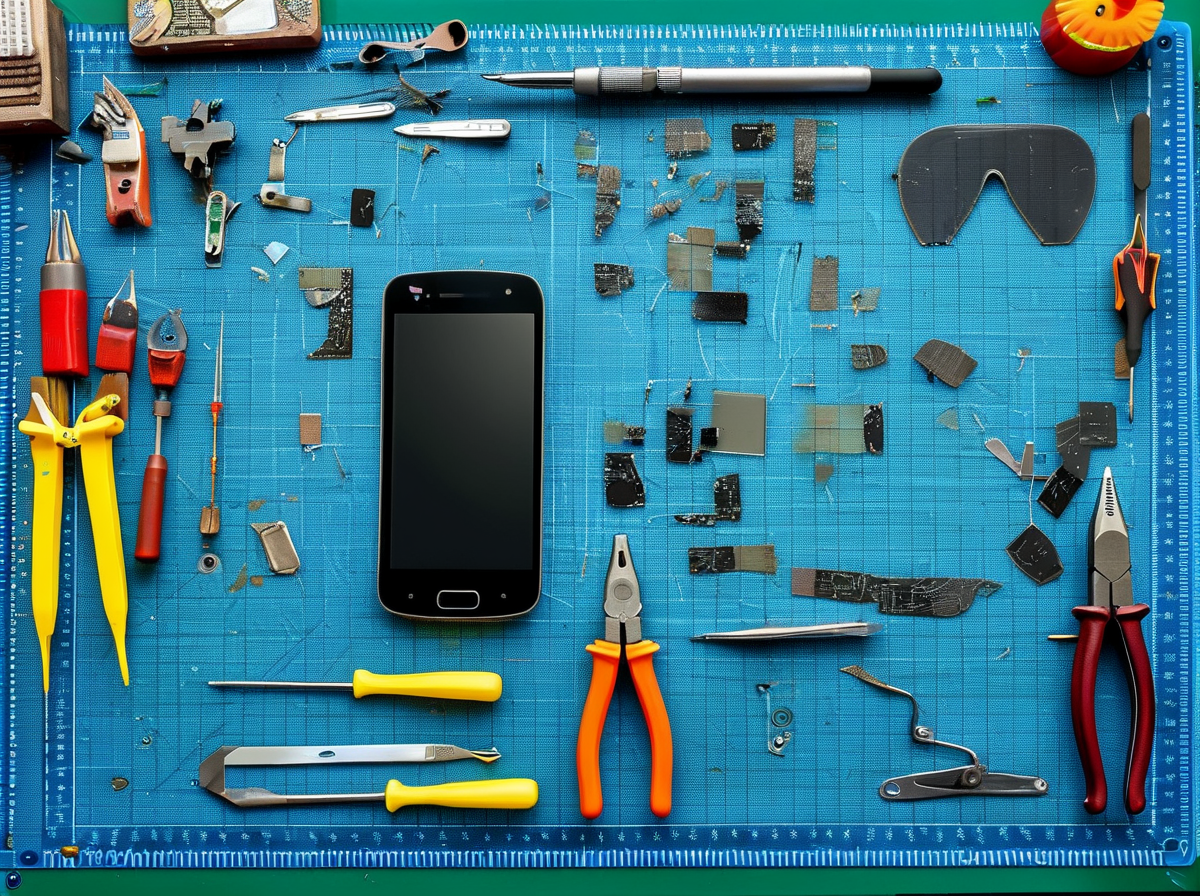
Repair toolkit essentials: Heat gun, spudger & screwdriver set
A cracked samsung s24 ultra screen can tempt you to rush. Don’t. Start with precision tools laid out on an anti-static mat.
-
heat gun – loosens factory adhesive evenly
-
spudger – separates frame without scratching
-
screwdriver set – matches micro screws precisely
Now, set up in layers:
-
Workspace Prep
1.1 Place device on anti-static mat
1.2 Organize screws by size
-
Opening Phase
2.1 Warm edges using heat gun (80–90°C range)
2.2 Insert spudger gently along seam
-
Internal Handling
3.1 Use tweezers for flex cables
3.2 Remove shields with screwdriver set
Tiny slips cause big headaches. Slow hands win.
For techs sourcing reliable tools and parts for a samsung s24 ultra screen repair, Screen Stocks keeps inventory tight and quality consistent.
Choosing premium-grade LCD adhesive and waterproof seal
A loose fit ruins a samsung s24 ultra display fast. Go with premium quality LCD adhesive, matched adhesive strips, and proper sealant.
• Strong bonding strength
• Heat resistance
• Dust protection
Then build it like this:
-
Clean frame edges
-
Apply thin, even LCD adhesive
-
Align replacement screen
-
Press and cure
-
Maintain pressure 3–5 minutes
-
Avoid flex stress
-
When installing a samsung screen s24 ultra assembly:
-
Inner seal: waterproof seal
-
Outer edge: precision sealant
-
Final check: no gaps, no lift
Short truth? Cheap glue equals repeat repair.
Pre-repair testing with a display tester
Before sealing any samsung s24 ultra screen, run a full functionality check using a display tester. A quick pixel test and touchscreen test saves returns and stress.
-
Connect flex cable
-
Power via diagnostic tool
-
Run brightness sweep
-
Execute touch grid scan
Grouped Diagnostic Flow
-
Visual Panel Review
1.1 Dead pixel scan
1.2 Color uniformity check
-
Touch Response
2.1 Edge sensitivity
2.2 Multi-touch tracking
-
Signal Stability
3.1 Flicker test
3.2 Refresh consistency
| Test Type | Tool Used | Pass Range | Fail Indicator |
|---|---|---|---|
| Pixel Scan | display tester | 0 dead pixels | Bright/dark dots |
| Touch Grid | diagnostic tool | 100% grid contact | Dead zones |
| Brightness Run | display tester | Even luminance | Flicker/patches |
| Flex Signal | pre-testing rig | Stable output | Screen dropouts |
Solid pre-testing means fewer comebacks. For consistent parts during a s24 ultra screen replacement, many repair shops quietly rely on Screen Stocks to keep failure rates low and customer trust high.
Screen Replacement Procedure
Cracked your samsung s24 ultra screen? No stress. Replacing a Samsung S24 Ultra screen takes patience, clean tools, and steady hands. This guide breaks down the real workflow for handling a samsung s24 ultra screen replacement, from lifting the glass to sealing everything back tight.
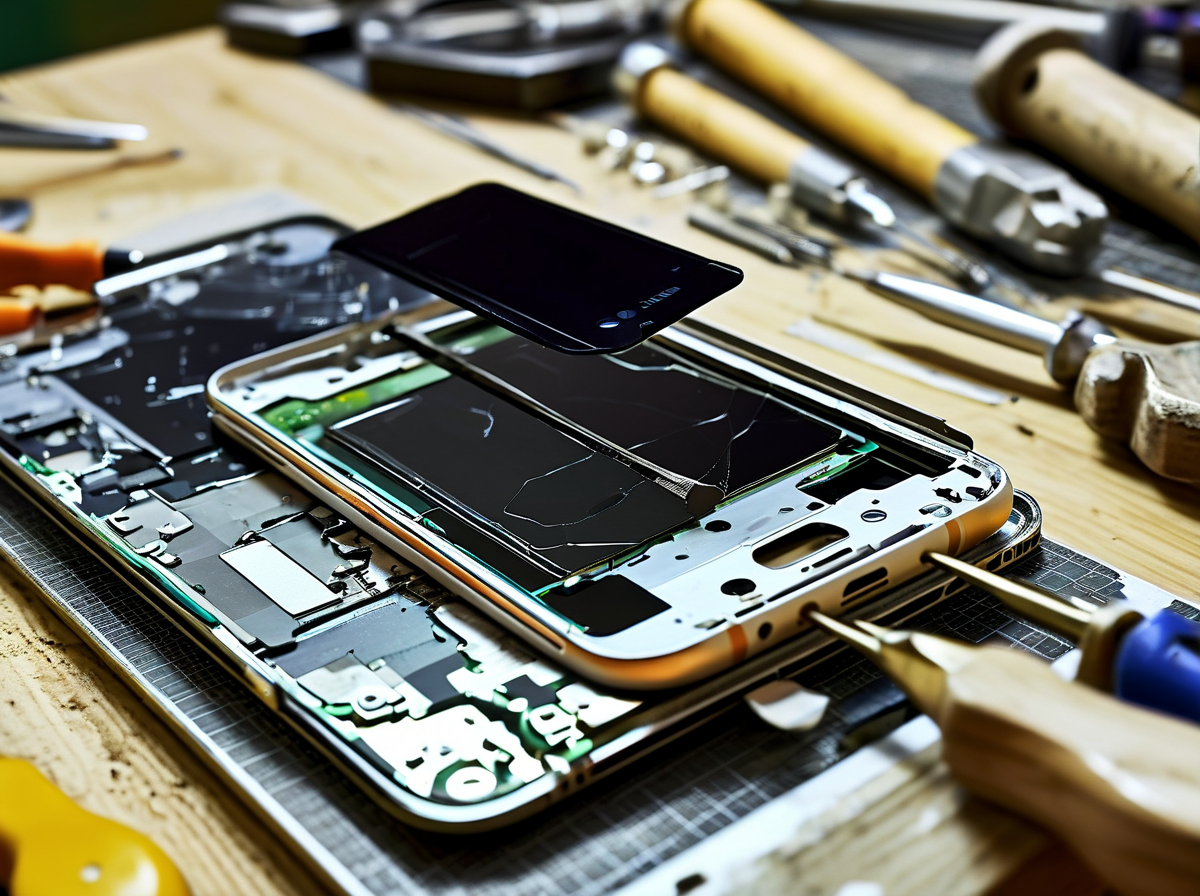
Step 1 – Frame separation using suction cup & pry tool
To begin proper frame separation, prep your tools:
-
suction cup
-
pry tool
-
opening picks
-
heat gun
-
Warm the edges gently using a heat gun (80–90°C range).
-
Attach the suction cup near the lower edge.
-
Insert opening picks while lifting slowly.
⚠ Keep the flex cable area clear—don’t jam the pry tool too deep.
For a samsung s24 ultra screen, adhesive strength is higher than older Galaxy models. Patience beats force here.
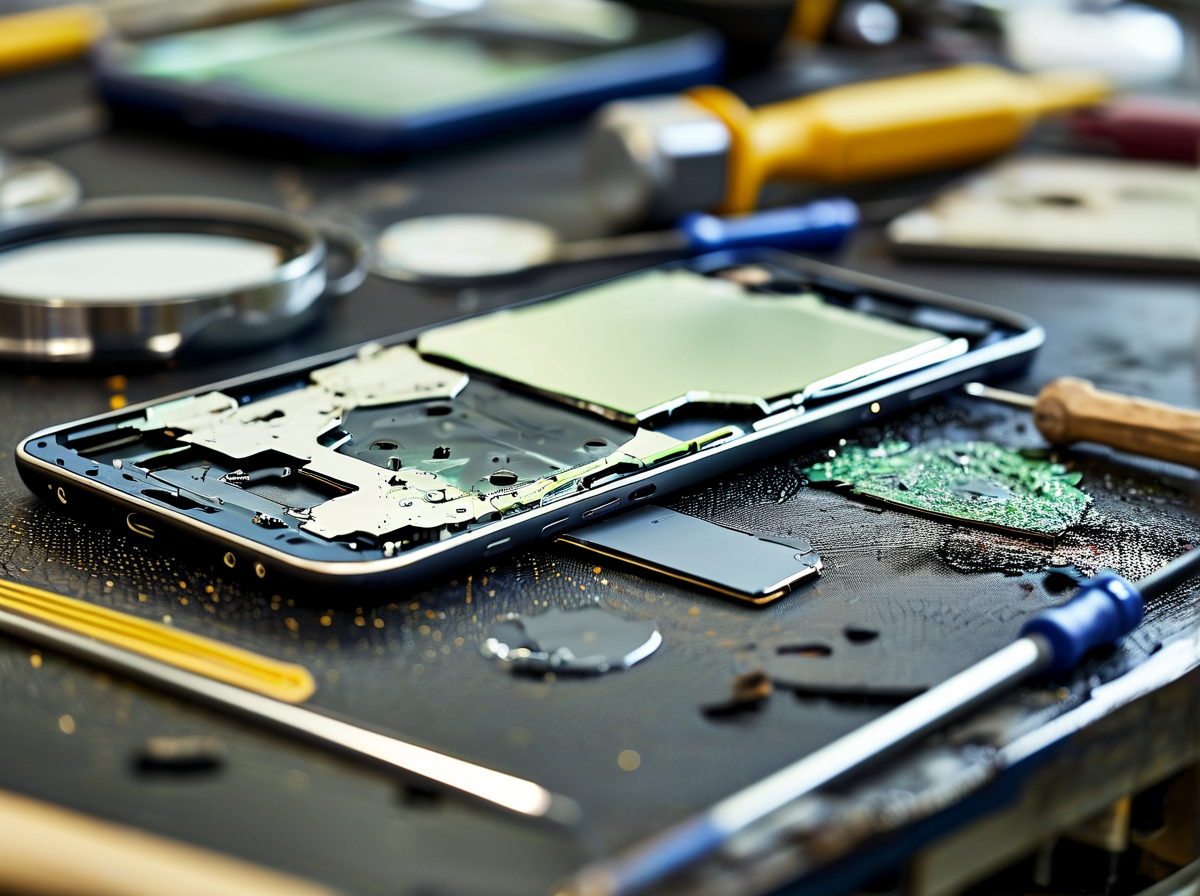
Step 2 – Removing the old digitizer and glass panel
Once open, disconnect power before touching the digitizer or glass panel.
-
Lift the old display carefully
-
Use adhesive remover if residue holds
-
Slide a spudger under stubborn spots
Display Layer | Removal Temp (°C) | Tool Used | Risk Level
—|—|—|—
Glass Panel | 85 | Pry Tool | Medium
Digitizer | 80 | Spudger | Low
Adhesive Layer | 90 | Adhesive Remover | Medium
The samsung s24 ultra screen uses tight lamination; rushing may bend the frame.
Step 3 – Cleaning and applying screen adhesive tape
Surface prep makes or breaks a Samsung S24 Ultra screen repair.
-
Wipe frame with cleaning solution
-
Polish using microfiber cloth
-
Apply adhesive tape evenly
Nested workflow:
-
Surface Preparation
-
Remove dust
-
Check corners
-
-
Adhesive Placement
-
Align edges
-
Press firmly
-
-
Final Inspection
-
No gaps
-
No debris
-
Clean work means no lifting later.
Step 4 – Installing new LTPO OLED display assembly
The new LTPO OLED display assembly must align perfectly.
-
Connector alignment
-
Seat pins straight
-
Verify flush contact
-
-
Component installation
-
Fingerprint zone alignment
-
Frame pressure check
-
Recent 2025 Counterpoint Research notes:
A properly aligned new screen avoids touch lag or fingerprint sensor issues.
Step 5 – Reconnecting flex cable and applying frame adhesive
Final sealing locks everything in.
-
Secure the flex cable firmly.
-
Test brightness, touch, and ultrasonic sensor.
-
Apply frame adhesive for sealing.
Reconnection
-
Cable snap-fit
-
No pin bend
Sealing
-
Even pressure
-
30-minute clamp
Assembly completion
-
Power test
-
Visual inspection
For reliable parts, Screen Stocks supplies high-grade panels for samsung s24 ultra screen repairs. Many repair techs trust Screen Stocks for consistent OLED quality and tight connector tolerances.
Once sealed, your samsung s24 ultra screen should look factory fresh—and yeah, that smooth 120Hz glow hits different.
Calibrating the Under-Screen Fingerprint Sensor

After a samsung s24 ultra screen glass-only repair, the phone might look flawless, but the fingerprint sensor underneath can act a little off. The Samsung S24 Ultra screen relies on precise light transmission and pressure response. Even tiny shifts in glass thickness can impact sensor accuracy, so calibration is not optional—it’s essential.
Why calibration is critical after glass-only repair
When a screen replacement keeps the original display but swaps the outer glass, subtle changes occur in how the optical sensor reads your finger.
-
Light refraction shifts slightly
-
Pressure mapping adjusts
-
Touch sensitivity may feel different
-
The new glass changes light travel distance.
-
The fingerprint scanner reads altered reflection patterns.
-
Misalignment reduces unlock consistency.
Here’s how these elements connect:
-
Fingerprint sensor performance
-
Signal clarity
-
Affected by glass density
-
Influenced by adhesive layer thickness
-
-
Response timing
-
Linked to display calibration
-
Dependent on clean signal return
-
-
A poorly calibrated Samsung S24 Ultra screen can show slower unlock speeds, failed reads, or repeated enrollment prompts. Users sometimes blame software, but it’s often physics. Recalibration restores the link between the fingerprint sensor and the updated samsung s24 ultra screen, ensuring the Galaxy S24 Ultra display works as intended.
Built-in calibration tools for quick fingerprint setup
The good news? The Samsung S24 Ultra screen supports built-in fingerprint setup tools inside device settings.
Quick checklist:
-
Open Settings
-
Navigate to Security
-
Start fresh enrollment
Then follow this flow:
-
Calibration process
-
Remove old fingerprints
-
Restart device
-
Check for software update
-
-
Re-enroll prints
-
Press firmly across edges
-
Rotate finger angles
-
Test unlock speed
-
For best results:
-
✓ Clean the Samsung S24 Ultra display
-
✓ Increase touch sensitivity if using a protector
-
✓ Review the user guide for advanced tips
Once recalibrated, the samsung s24 ultra screen and fingerprint scanner sync up smoothly again—fast unlocks, no drama, just tap and go.
Troubleshooting Common Post-Repair Issues
After replacing a samsung s24 ultra screen, small glitches can pop up and ruin the vibe. This guide breaks down real-world fixes for your Samsung S24 Ultra screen, so your samsung s24 ultra screen performs like new again.
Fixing touch malfunctions after B7000 glue application
When a samsung s24 ultra screen starts acting up after glue work, it’s usually not random.
-
touch sensitivity drops
-
random ghost touches appear
-
weak screen responsiveness
Step-by-step diagnosis
-
Inspect edges
1.1 Lift frame slightly
1.2 Check for adhesive residue near flex
-
Test display input
2.1 Dial #0# for panel test
2.2 Observe digitizer calibration grid
-
Review add-ons
3.1 Remove tempered glass
3.2 Check screen protector compatibility
| Issue Type | Common Cause | Touch Failure Rate (%) |
|---|---|---|
| Edge lag | Glue overflow | 42 |
| Dead zone | Flex pressure | 27 |
| Random taps | Residue shorting | 18 |
| Delayed input | Poor seating | 9 |
| Full freeze | Connector damage | 4 |
Clean carefully with isopropyl alcohol. Re-seat the samsung s24 ultra screen evenly. Light glue. Less mess. Better control.
Resolving dead pixels and flickering display
A flickering Samsung S24 Ultra display feels annoying fast.
-
dead pixels
-
unstable screen refresh rate
-
sudden display artifacts
Root check
-
Hardware
-
Panel defect
-
Loose display driver
-
-
Software
-
Update bug
-
Minor software glitch
-
If flicker stays after reset, swap the samsung s24 ultra screen assembly. Reliable suppliers like Screen Stocks test for panel defect rates before shipping. That saves comeback repairs and protects repair margins.
Correcting discoloration in HDR10+ mode
HDR10+ should look rich, not washed out.
Symptoms include:
-
poor color accuracy
-
visible color banding
-
uneven screen uniformity
Adjustment flow
-
Open display settings
1.1 Reset HDR10+ settings
1.2 Run built-in display calibration
-
Advanced correction
2.1 Adjust gamma correction
2.2 Check for OLED aging
Low-grade samsung s24 ultra screen panels often struggle here. Upgrading the samsung s24 ultra screen to premium OLED restores contrast depth and removes strange visual artifacts.
When to opt for tested-quality OEM parts
Not all parts are equal. Some aftermarket Samsung S24 Ultra screen units cause:
-
fingerprint failure
-
brightness dips
-
early performance degradation
Decision guide
-
Compare
- OEM parts vs aftermarket components
-
Evaluate
-
component compatibility
-
repair longevity
-
-
Consider
- future warranty implications
If repeat repairs cost more than the part difference, switch to tested OEM-grade from Screen Stocks. Your samsung s24 ultra screen repair should feel solid, not risky.


