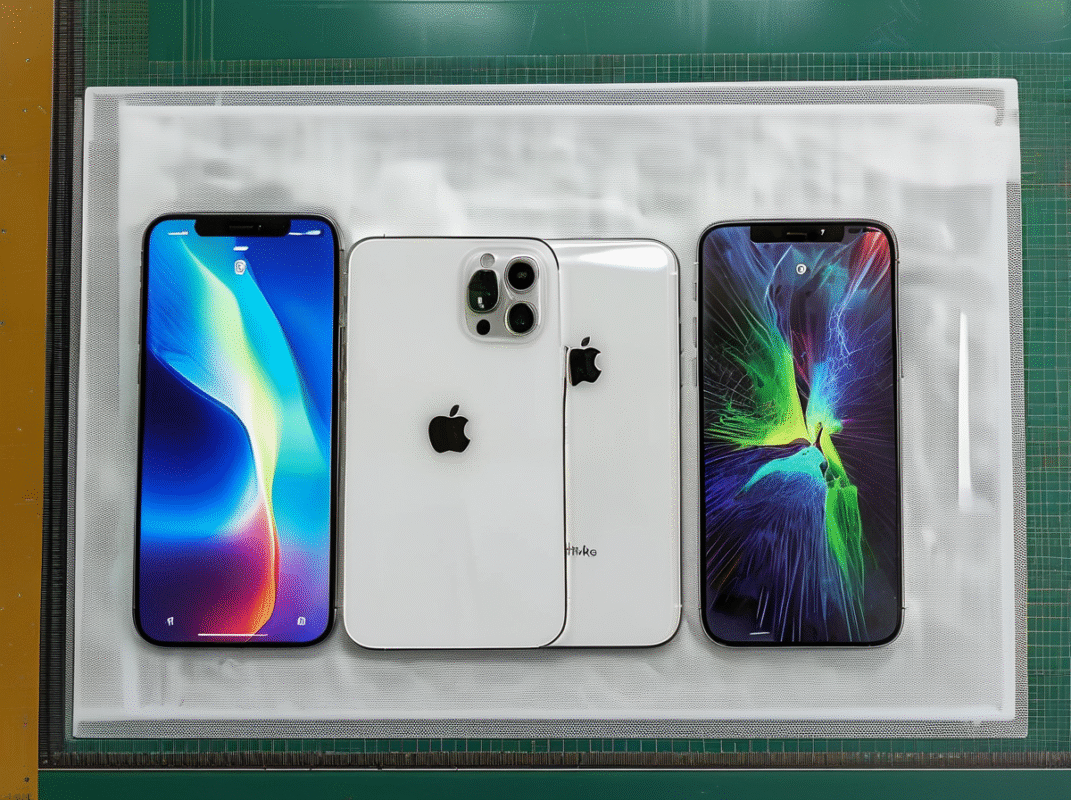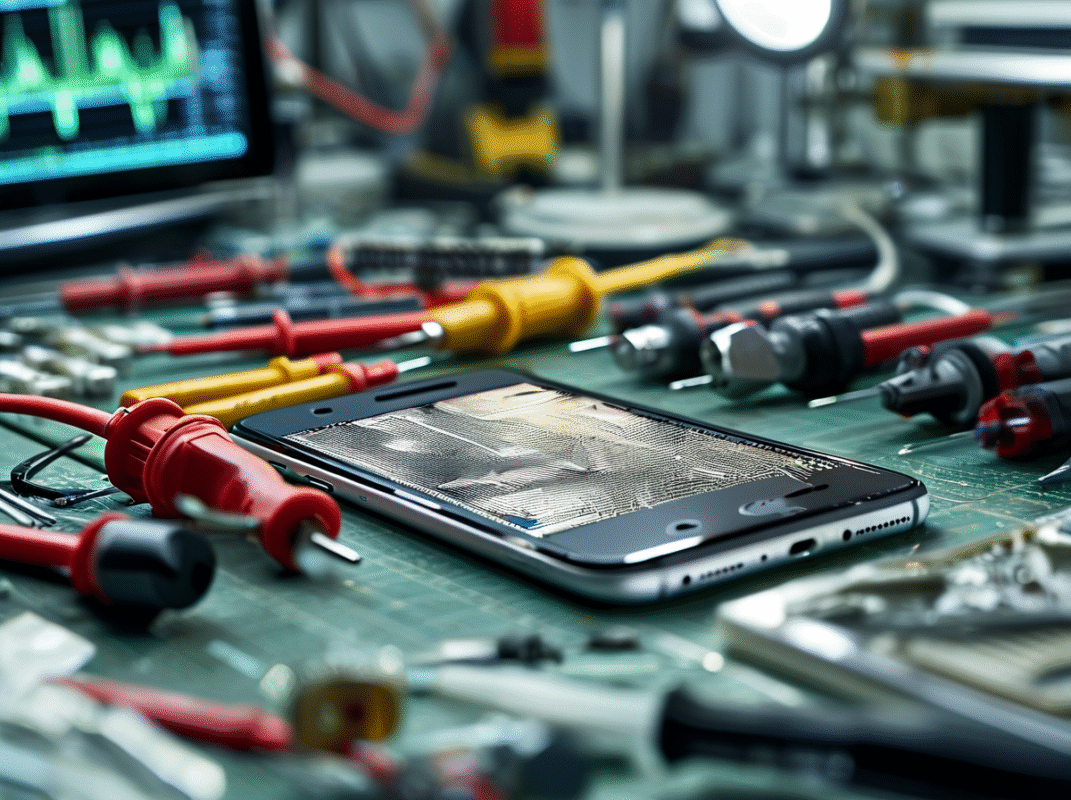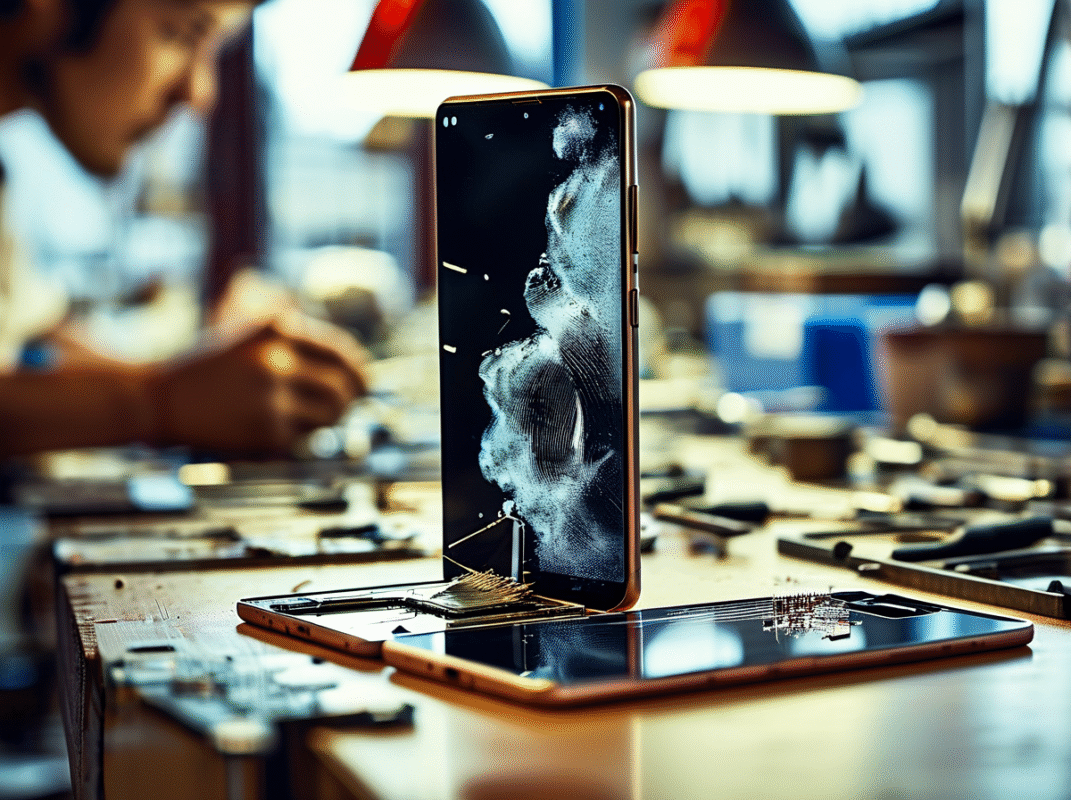


Water damage loves curveballs. Our Water Damaged Phone Screen Repair and Replacement Guide for Repair Shops starts with diagnosis before parts.
Black screens, ghost touch, corrosion, and backlight faults can share symptoms but demand different fixes. Testing separates cleanup, refurbishment, replacement, and board-level work.
Key Insights: Water Damaged Phone Screen Repair and Replacement Guide for Repair Shops
➔ Conduct a detailed visual inspection under a microscope to spot liquid corrosion, torn flex cables, and residue before cleaning or disassembly.
➔ Use a multimeter and DC power supply to test continuity, detect shorts, and measure current draw, isolating display faults from board or battery issues.
➔ Apply controlled drying—desiccant, vacuum, heat gun—or ultrasonic cleaning on boards to remove moisture without damaging adhesives or polarizers.
➔ Decide between screen refurbishment and full replacement based on corrosion severity, OLED/LCD panel defects, and digitizer integrity.
Repair Workflow: Assessing Water Damaged Phone Screens

A Water Damaged Phone Screen Repair and Replacement Guide for Repair Shops starts with diagnosis, not a quick parts swap. Water can reach glass, display circuits, and touch connections in different ways. Careful phone screen repair checks save good parts and flag unsafe ones. For repair shops, Screen Stocks can support replacement sourcing after technicians confirm what actually failed.
Visual Inspection at the Microscope Station
A close inspection gives the Water Damaged Phone Screen Repair and Replacement Guide for Repair Shops a solid starting point.
-
Check the exterior.
-
Note cracked glass and trapped liquid residue.
-
Look around edges for oxidation or failed seals.
-
-
Move to the microscope.
-
Inspect connectors for corrosion.
-
Check the polarized filter and signs of backlight damage before pulling the display apart. Tiny stains can be a big clue, so don’t rush it.
-
Multimeter Tester Assessment of Flex Cable Traces
Phone screen repair becomes much less guessy when visual findings are backed by measurements. A multimeter can run a continuity test along each flex cable and circuit trace.
| Test point | Typical reading | Fault clue |
|---|---|---|
| Trace continuity | 0–2 Ω | >10 Ω |
| connector pin to ground | >100 kΩ | <10 Ω |
| voltage drop check | 0.2–0.8 V | ~0 V |
A near-zero path where isolation is expected may indicate a short circuit. Compare readings with known-good repair data for that phone model rather than treating these figures as universal limits.
Checking for Liquid Corrosion on the Touch Digitizer
The Water Damaged Phone Screen Repair and Replacement Guide for Repair Shops also requires close attention to touch faults.
-
Inspect the touch digitizer.
-
Find moisture, green or white corrosion, and damaged contact pad areas.
-
Check the IC chip and adhesive seal.
-
-
Clean only suitable exposed contacts.
-
Use electronics-grade isopropyl alcohol as the cleaning solvent.
-
Dry the part fully before testing. Ghost touches that remain after cleaning can point to permanent digitizer damage.
-
Deciding Between Screen Refurbishment or Full Replacement
The final Water Damaged Phone Screen Repair and Replacement Guide for Repair Shops decision comes down to part condition and repair value. Choose screen refurbishment when the working LCD panel or OLED display survives and damage is limited to the glass lens, using suitable OCA glue during rebuilding.
Go with full replacement when corrosion has reached critical display electronics, touch damage cannot be repaired, or the panel itself has failed. In those cases, replacing the complete assembly unit is usually the cleaner repair-shop call.
3 Steps to Diagnose Water-Damaged Screens
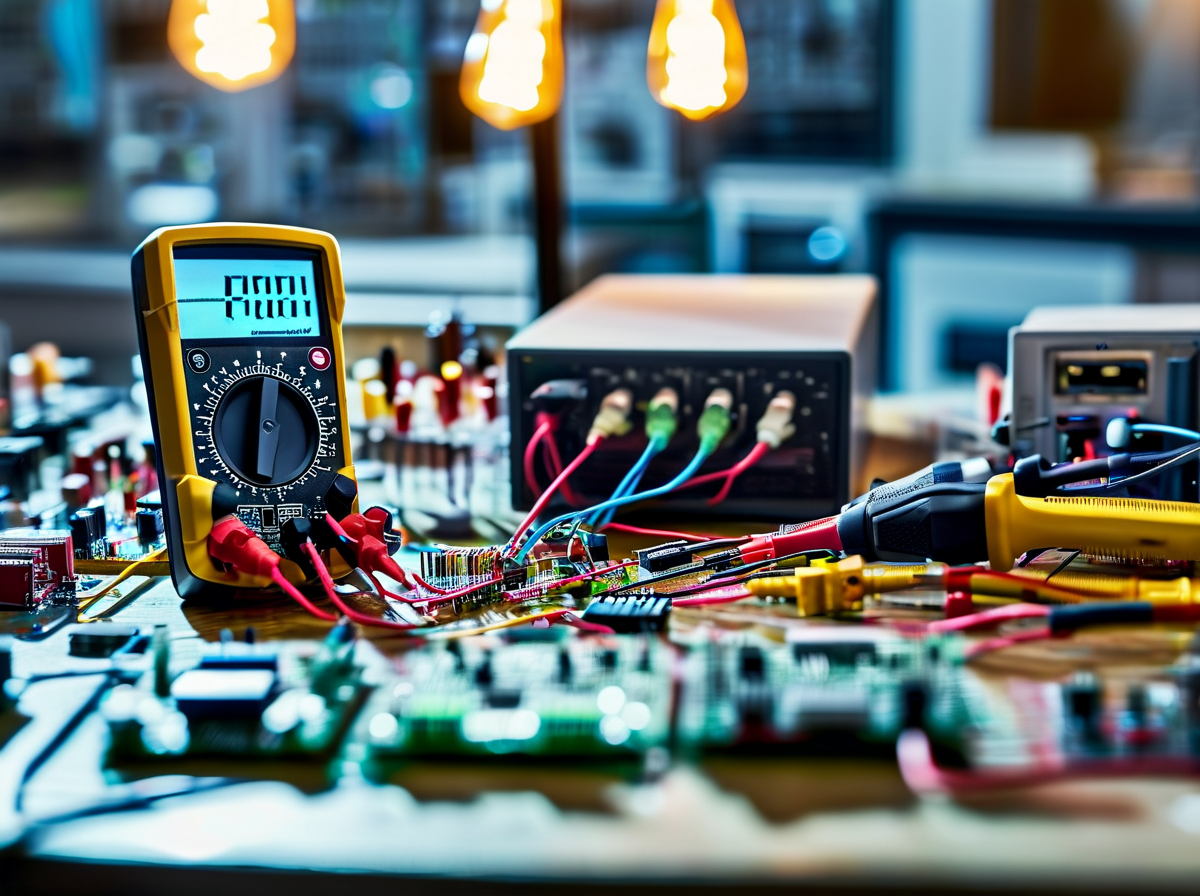
A solid Water Damaged Phone Screen Repair and Replacement Guide for Repair Shops starts with diagnosis, not a quick parts swap. Water can affect the screen, battery, connectors, or board at once. These checks help technicians find the real phone screen repair issue without wasting good replacement parts.
Step 1: Perform Diagnostic Assessment with DC Power Supply
For a Water Damaged Phone Screen Repair and Replacement Guide for Repair Shops, power behavior gives repair shops an early clue.
-
Power diagnosis
-
Connect a DC power supply at the correct voltage and monitor current consumption.
-
A sudden high draw can point to a short circuit.
-
An expected rise during the boot sequence suggests the phone is at least trying to start.
-
-
Compare results before blaming the display.
-
No normal startup activity may indicate a motherboard or battery fault rather than screen damage.
-
Use this diagnostic test to avoid swapping parts just to see what happens. That gets pricey fast.
-
-
Step 2: Test OLED Screen & Backlight Panel Functionality
Water-damaged phone screen repair needs a display check after basic power behavior looks reasonable.
-
OLED screen checks:
-
Run a brightness test and check image output for lines, flicker, patches, or a totally black display.
-
Perform a visual inspection of the display flex cable for corrosion or torn contacts.
-
-
LCD checks:
-
Inspect the backlight panel when an image is faintly visible but has no illumination.
-
A known-good screen panel can help separate screen failure from a backlight circuit fault.
-
Repair shops sourcing replacement screens can use Screen Stocks when a confirmed panel failure calls for replacement.
-
-
Step 3: Evaluate Touch Unresponsiveness Using Thermal Camera
The Water Damaged Phone Screen Repair and Replacement Guide for Repair Shops also needs touch diagnosis because a good image does not mean the digitizer survived.
-
During touch testing:
-
Use a thermal camera for thermal imaging around the connector and digitizer circuitry.
-
Look for a local temperature anomaly or unusual heat dissipation.
-
Excess heat near the touch IC can support a board-level fault finding.
-
-
Compare thermal findings with touch unresponsiveness.
-
Normal temperatures may shift attention toward the screen assembly or connector.
-
A clear hot spot calls for board diagnosis before fitting another phone screen replacement.
-
-
Moisture Under Glass? Quick Drying Techniques
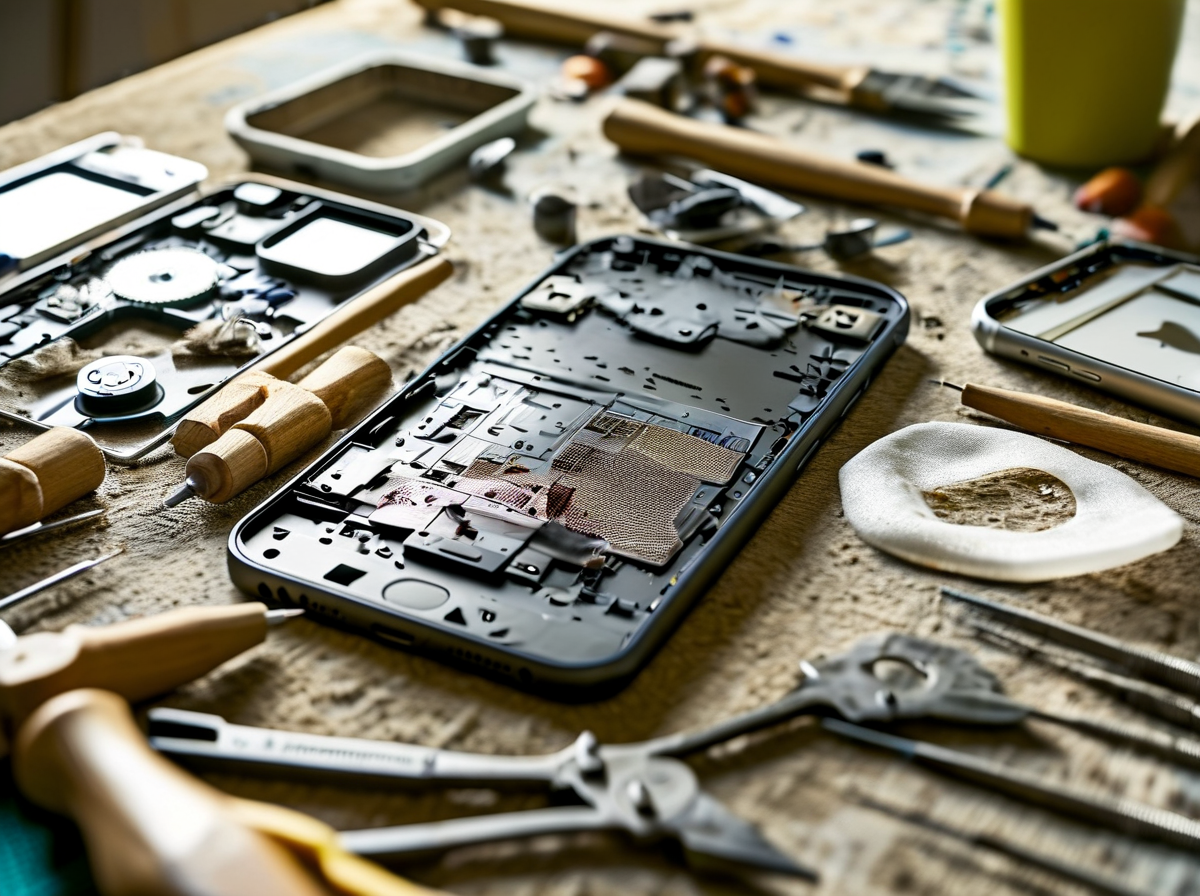
For repair shops, trapped water under glass needs more than a quick blast of heat. This part of the Water Damaged Phone Screen Repair and Replacement Guide for Repair Shops covers controlled screen drying, moisture removal, and board cleaning. Good temperature and humidity checks help protect display layers while giving water damaged phone repair a fair shot.
Heat Gun Protocol for Safe Glass Lamination
Keep temperature control tight; too much heat can warp the LCD panel or damage polarizers.
-
Prepare:
-
Fit a protective nozzle for smoother thermal distribution.
-
Set up workstation safety gear, including a deflection shield.
-
-
Warm:
-
Move the gun continuously rather than parking heat in one spot.
-
Watch for even adhesive activation before lifting glass.
-
-
Rebuild:
-
Replace compromised OCA film during viable glass lamination.
-
If staining or panel damage remains, screen replacement may beat another heating cycle.
-
Desiccant & Vacuum Drying for LCD Assembly
After disassembly, use moisture extraction rather than cooking the screen. An airtight seal, controlled pressure differential, and fresh desiccant can pull trapped vapor from display layers without unnecessary heat.
| Check | Working range | Action | Risk flag |
|---|---|---|---|
| Chamber | 20–30°C | Monitor heat | >40°C |
| Humidity | <20% RH | Use silica gel chamber | >40% RH |
| Hold time | 2–8 h | Inspect hourly | >12 h |
| Final check | <30% RH | Verify humidity sensor | Rising RH |
Inspect condensation removal around the touch digitizer before reassembly. That practical screen-drying approach belongs in any Water Damaged Phone Screen Repair and Replacement Guide for Repair Shops.
Board Level Repair: Low-Heat Ultrasonic Cleaning
Screen moisture can also signal contamination below.
-
Remove the logic board.
- Check micro-circuitry for corrosion and mineral deposit buildup.
-
Clean only suitable removable boards.
- Use a proper solvent bath and controlled transducer frequency for corrosion removal; high-purity isopropyl alcohol may support rinsing where appropriate.
-
Dry fully.
- Inspect under magnification before power-up, microsoldering, and final water damaged phone testing.
OEM Vs. Aftermarket Screens: Water-Damaged Replacements
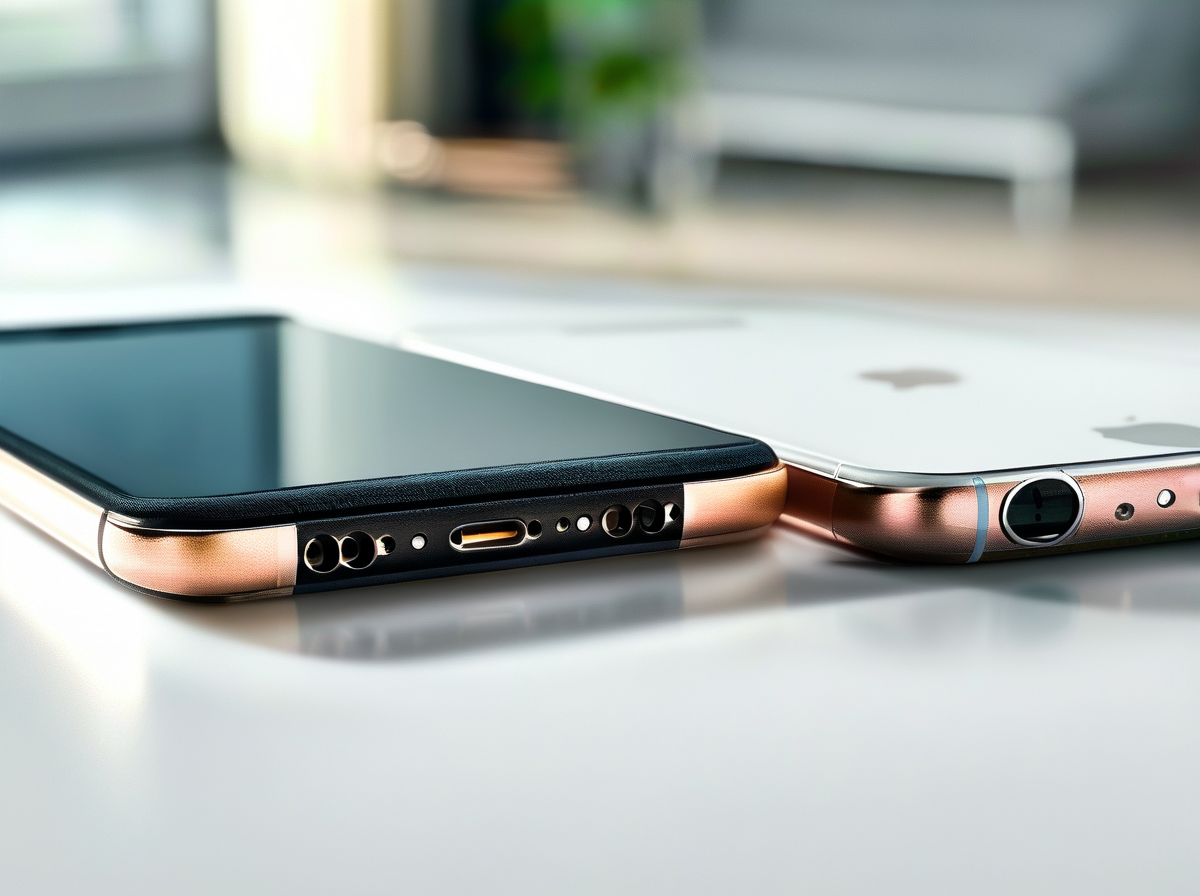
For repair shops, screen choice after liquid exposure affects much more than the bill. The Water Damaged Phone Screen Repair and Replacement Guide for Repair Shops focuses on screen quality, touch performance, fit, and sealing after water damage. Smart sourcing also matters: a cheap phone screen repair can get pricey fast if returns and repeat repairs start piling up.
OEM Screens
An OEM screen from the original manufacturer is usually the safest match when restoring a water-damaged phone, especially when customers expect familiar brightness, colors, and touch behavior. In a Water Damaged Phone Screen Repair and Replacement Guide for Repair Shops workflow, shops should still test every part before handing the device back.
-
Quality checks
-
Display performance
-
Confirm factory calibration produces consistent brightness and color accuracy.
-
Check display quality for dead pixels, flicker, tint, or image retention.
-
-
Repair performance
-
Test touch sensitivity across corners and edges.
-
Confirm component compatibility with sensors, connectors, and device software.
-
-
-
Shop protection
-
Review supplier warranty coverage before purchasing stock.
-
Screen Stocks can help repair businesses source replacement screens while keeping purchasing and quality checks under one roof.
-
OEM does not mean skip testing. Water damage may also affect the board, connectors, or touch circuits, so a fresh screen cannot fix every liquid-related fault.
Aftermarket Screens
Aftermarket parts from a third-party manufacturer can be a cost-effective alternative, which is handy for budget repairs or older phones. Quality varies, though.
For Water Damaged Phone Screen Repair and Replacement Guide for Repair Shops procedures, match screen technology to the original device rather than buying on price alone. A flexible OLED may behave quite differently from a cheaper rigid LCD conversion.
-
Inspect the digitizer assembly for smooth touch response and ghost touches.
-
Compare backlight brightness or OLED output with a known-good screen.
-
Check frame dimensions and adhesive contact before resealing; poor fit can weaken water resistance.
-
For glass replacement, inspect the underlying display carefully because liquid damage can extend beyond cracked glass.
Screen Stocks gives shops another sourcing option, but every batch deserves incoming QC. For practical water-damaged phone screen replacement, supplier consistency, fit testing, and post-repair checks are where the rubber meets the road.